
Glossary
Use this page to look up a word you don’t understand. Each entry gives you a short, plain-English definition. Other pages link to a term here the first time they use it.
Accept invitation
Section titled “Accept invitation”The link in your invitation email that sets up your new account. Click Accept invitation in the email. Choose a password, then click ACCEPT INVITATION. You then fill in a short profile before you can sign in.
API access
Section titled “API access”A setting an organization turns on to unlock extra features. When it’s on, your organization’s Settings tab shows extra options. One is an API key — a code that lets other software connect to the portal. Another is a webhook — an automatic message the portal sends to another system. It also adds a Patient filter and confirmation badges to orders. It can also add a Remove Cart button. Only a Platform Admin can turn API access on or off.
Checkout
Section titled “Checkout”Checkout is the step that moves an order from prescribing toward payment. The portal decides which of three actions you can use. Checkout pays for the selected lines. Prescribe & Checkout prescribes and pays in one step. Patient Checkout sends the patient a payment link instead. If more than one option is available, you’ll see a “Choose a checkout method” window. Pick one there. Some checkout actions ask for your two-factor authentication or secure PIN code.
Consultation room
Section titled “Consultation room”The video call screen for an appointment. There are two versions. As a patient, you open your Patient consultation room from a link in an email. You enter your name, allow your camera and microphone, then join. As a prescriber, you open your Provider consultation room from the Appointments tab. It’s only available once for a confirmed video booking. It has a Consultation Tools panel. You can view patient details, and create a prescription or note, without leaving the call.
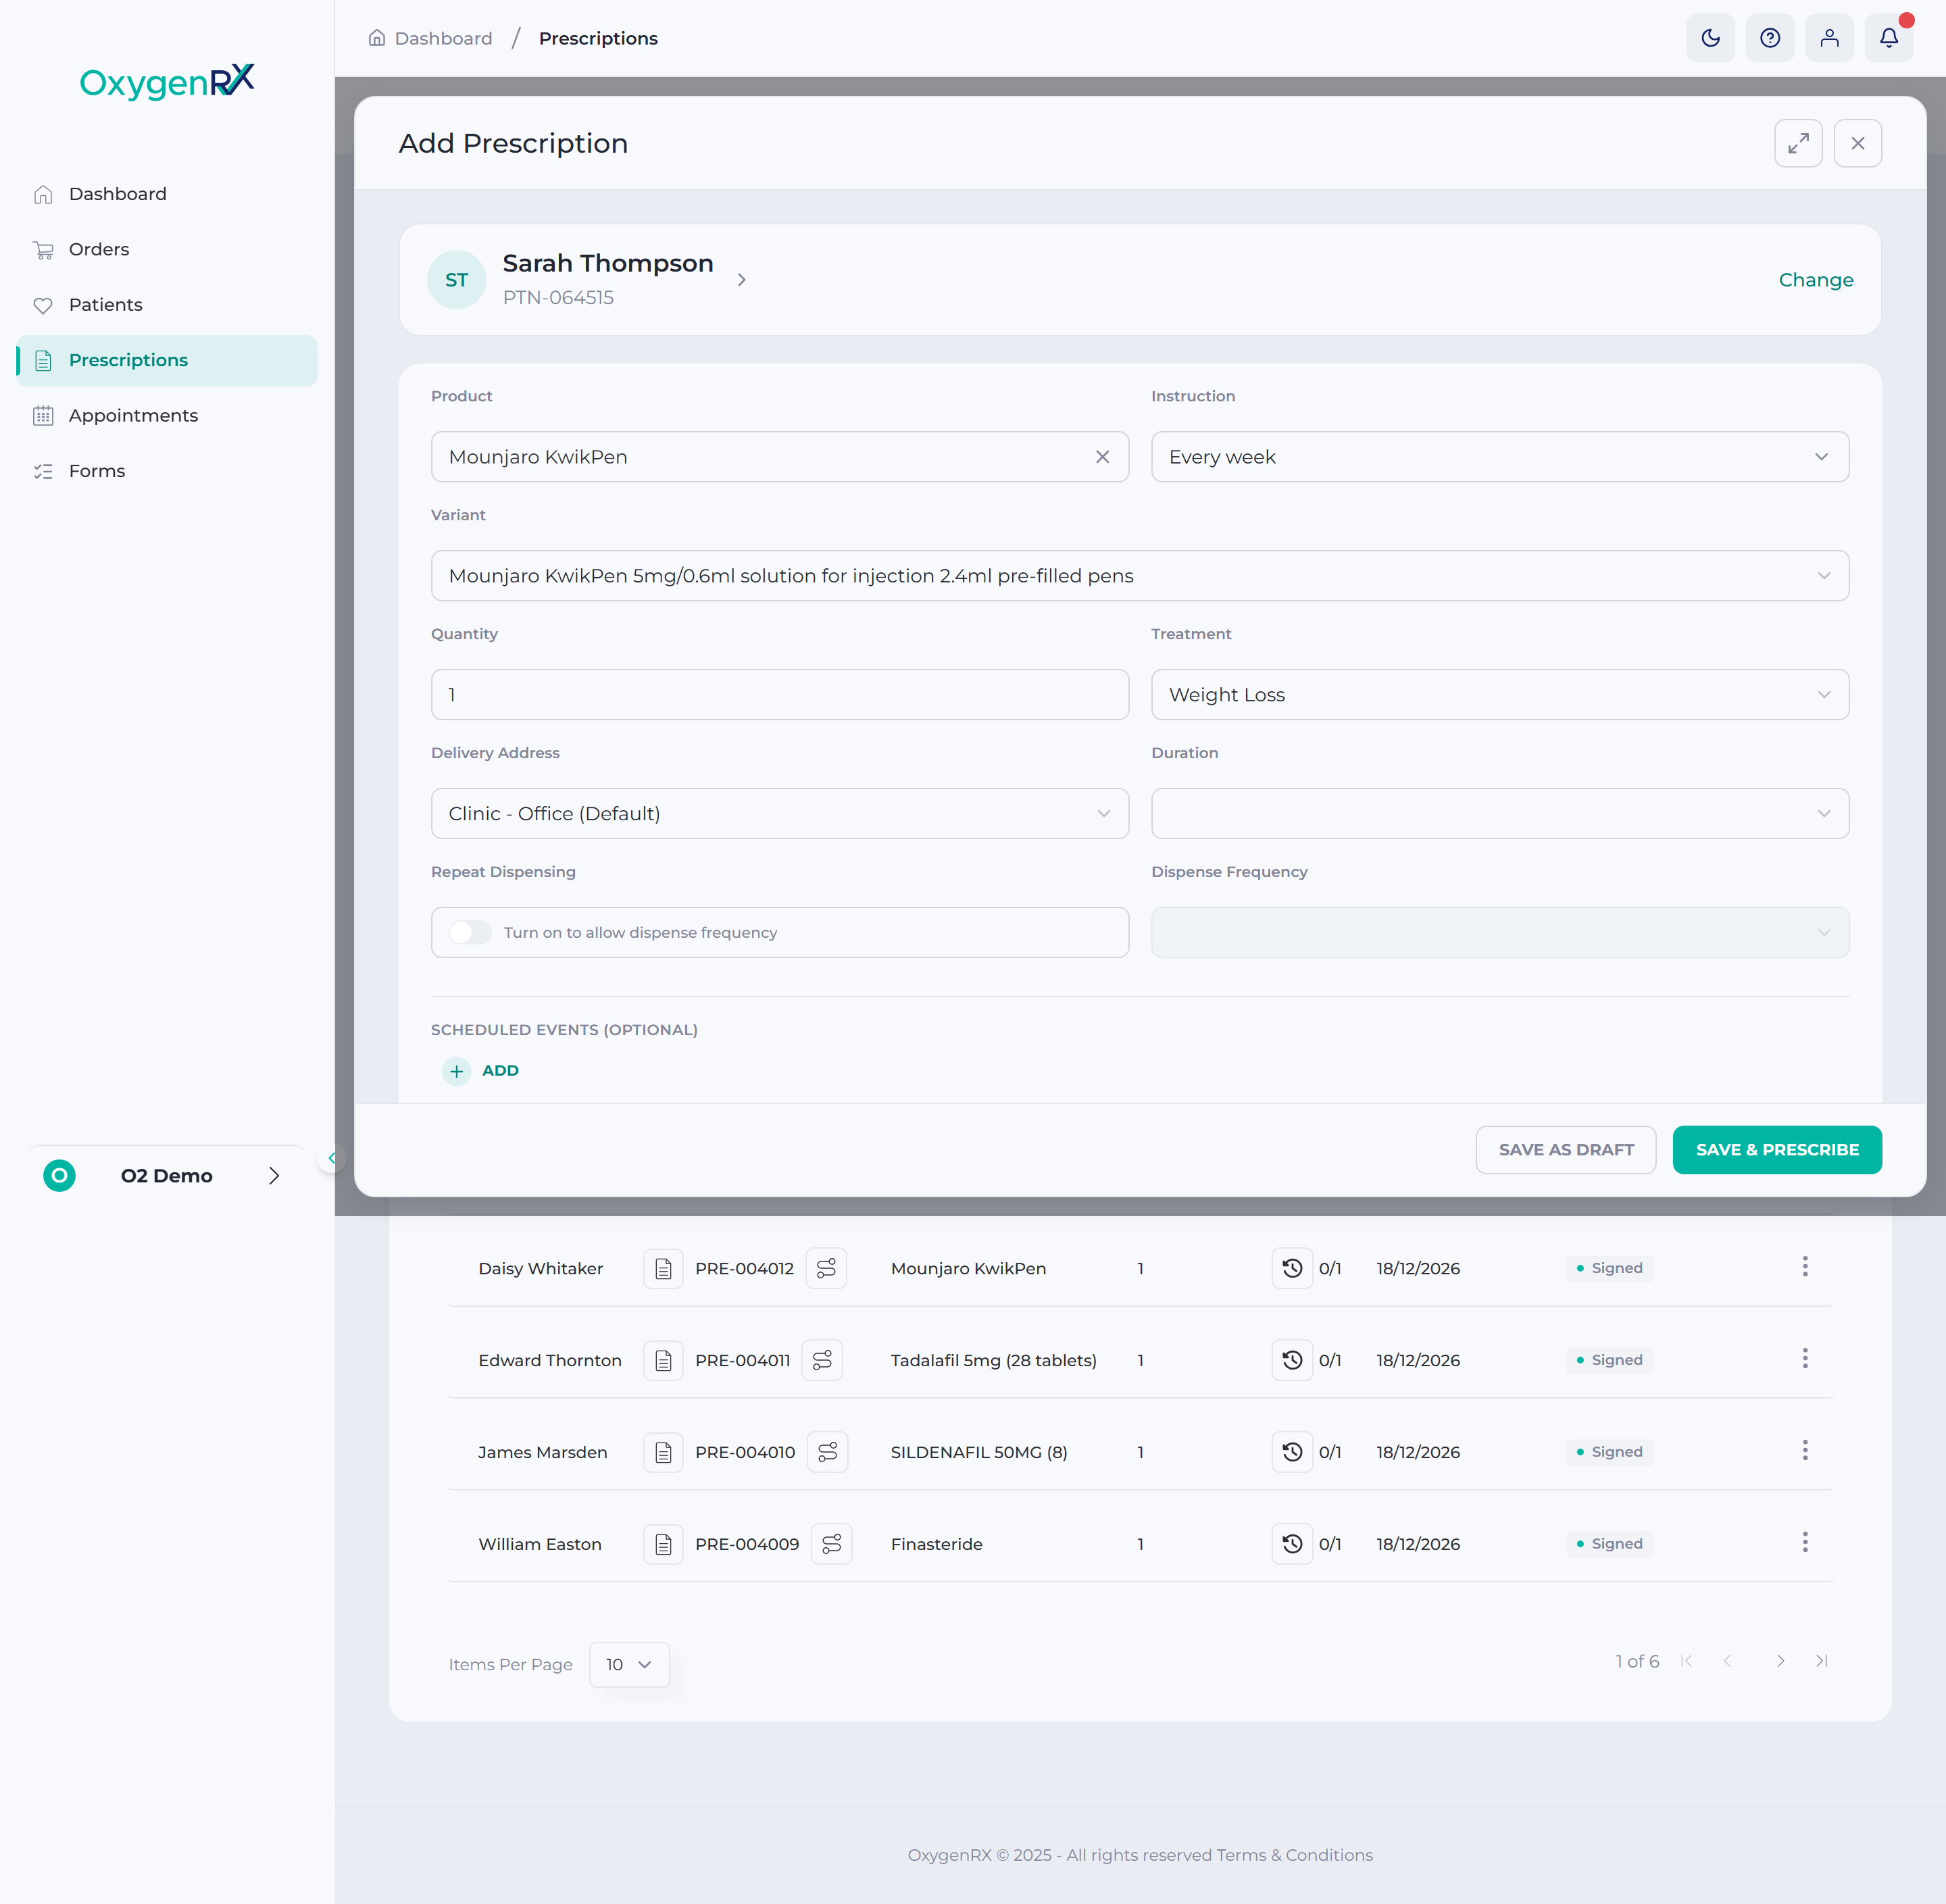
A prescription you’ve started but not yet issued. Click Save as Draft to keep it for later editing. This does not need a secure PIN. A draft stays fully editable until you prescribe it. See Prescription lifecycle for the full set of statuses.
Event type
Section titled “Event type”A named kind of consultation that patients can book. For example, a video call or a phone call. An admin, manager, or Platform Admin sets up event types on the Appointments Events tab. Each event type can have its own intake form and linked treatments. Patients pick an event type when they use a public booking link.
Form Builder
Section titled “Form Builder”The screen you use to design an organization form. It has four tabs: Designer, Preview, Logic, and JSON. You can add a Patient Details panel. You can also add different question types. These include Preferred Treatment, Weather, Camera, Products, Text Display, and BMI Calculator. Form colours come from your organization’s Form Settings, not from Form Builder itself.
Imported Prescription
Section titled “Imported Prescription”A prescription brought in from outside the portal, rather than created inside it. It appears on its own Imported Prescription tab. You’ll find this tab on the main Prescriptions list and on a patient’s Prescriptions tab. Its columns differ slightly from regular prescriptions. For example, it shows a Submission Date instead of an expiry date.
Intake form
Section titled “Intake form”An organization form attached to an event type. When a patient books a consultation, they fill in the intake form first. This happens after they choose the event type. It happens before they pick a date and time. Their answers carry through to the booking automatically.
Invitation link
Section titled “Invitation link”The email link an admin sends by clicking Send an Invite for a new user. It stays valid for 6 days. While an invite is still pending, you cannot send another one. The person must accept it, or let it expire, first.
Invited registration
Section titled “Invited registration”A way of joining the portal where an organization admin invites you by email. You click the Accept invitation link and set a password. Then you fill in a short profile. Your role and account type are already set by the person who invited you.
Order statuses
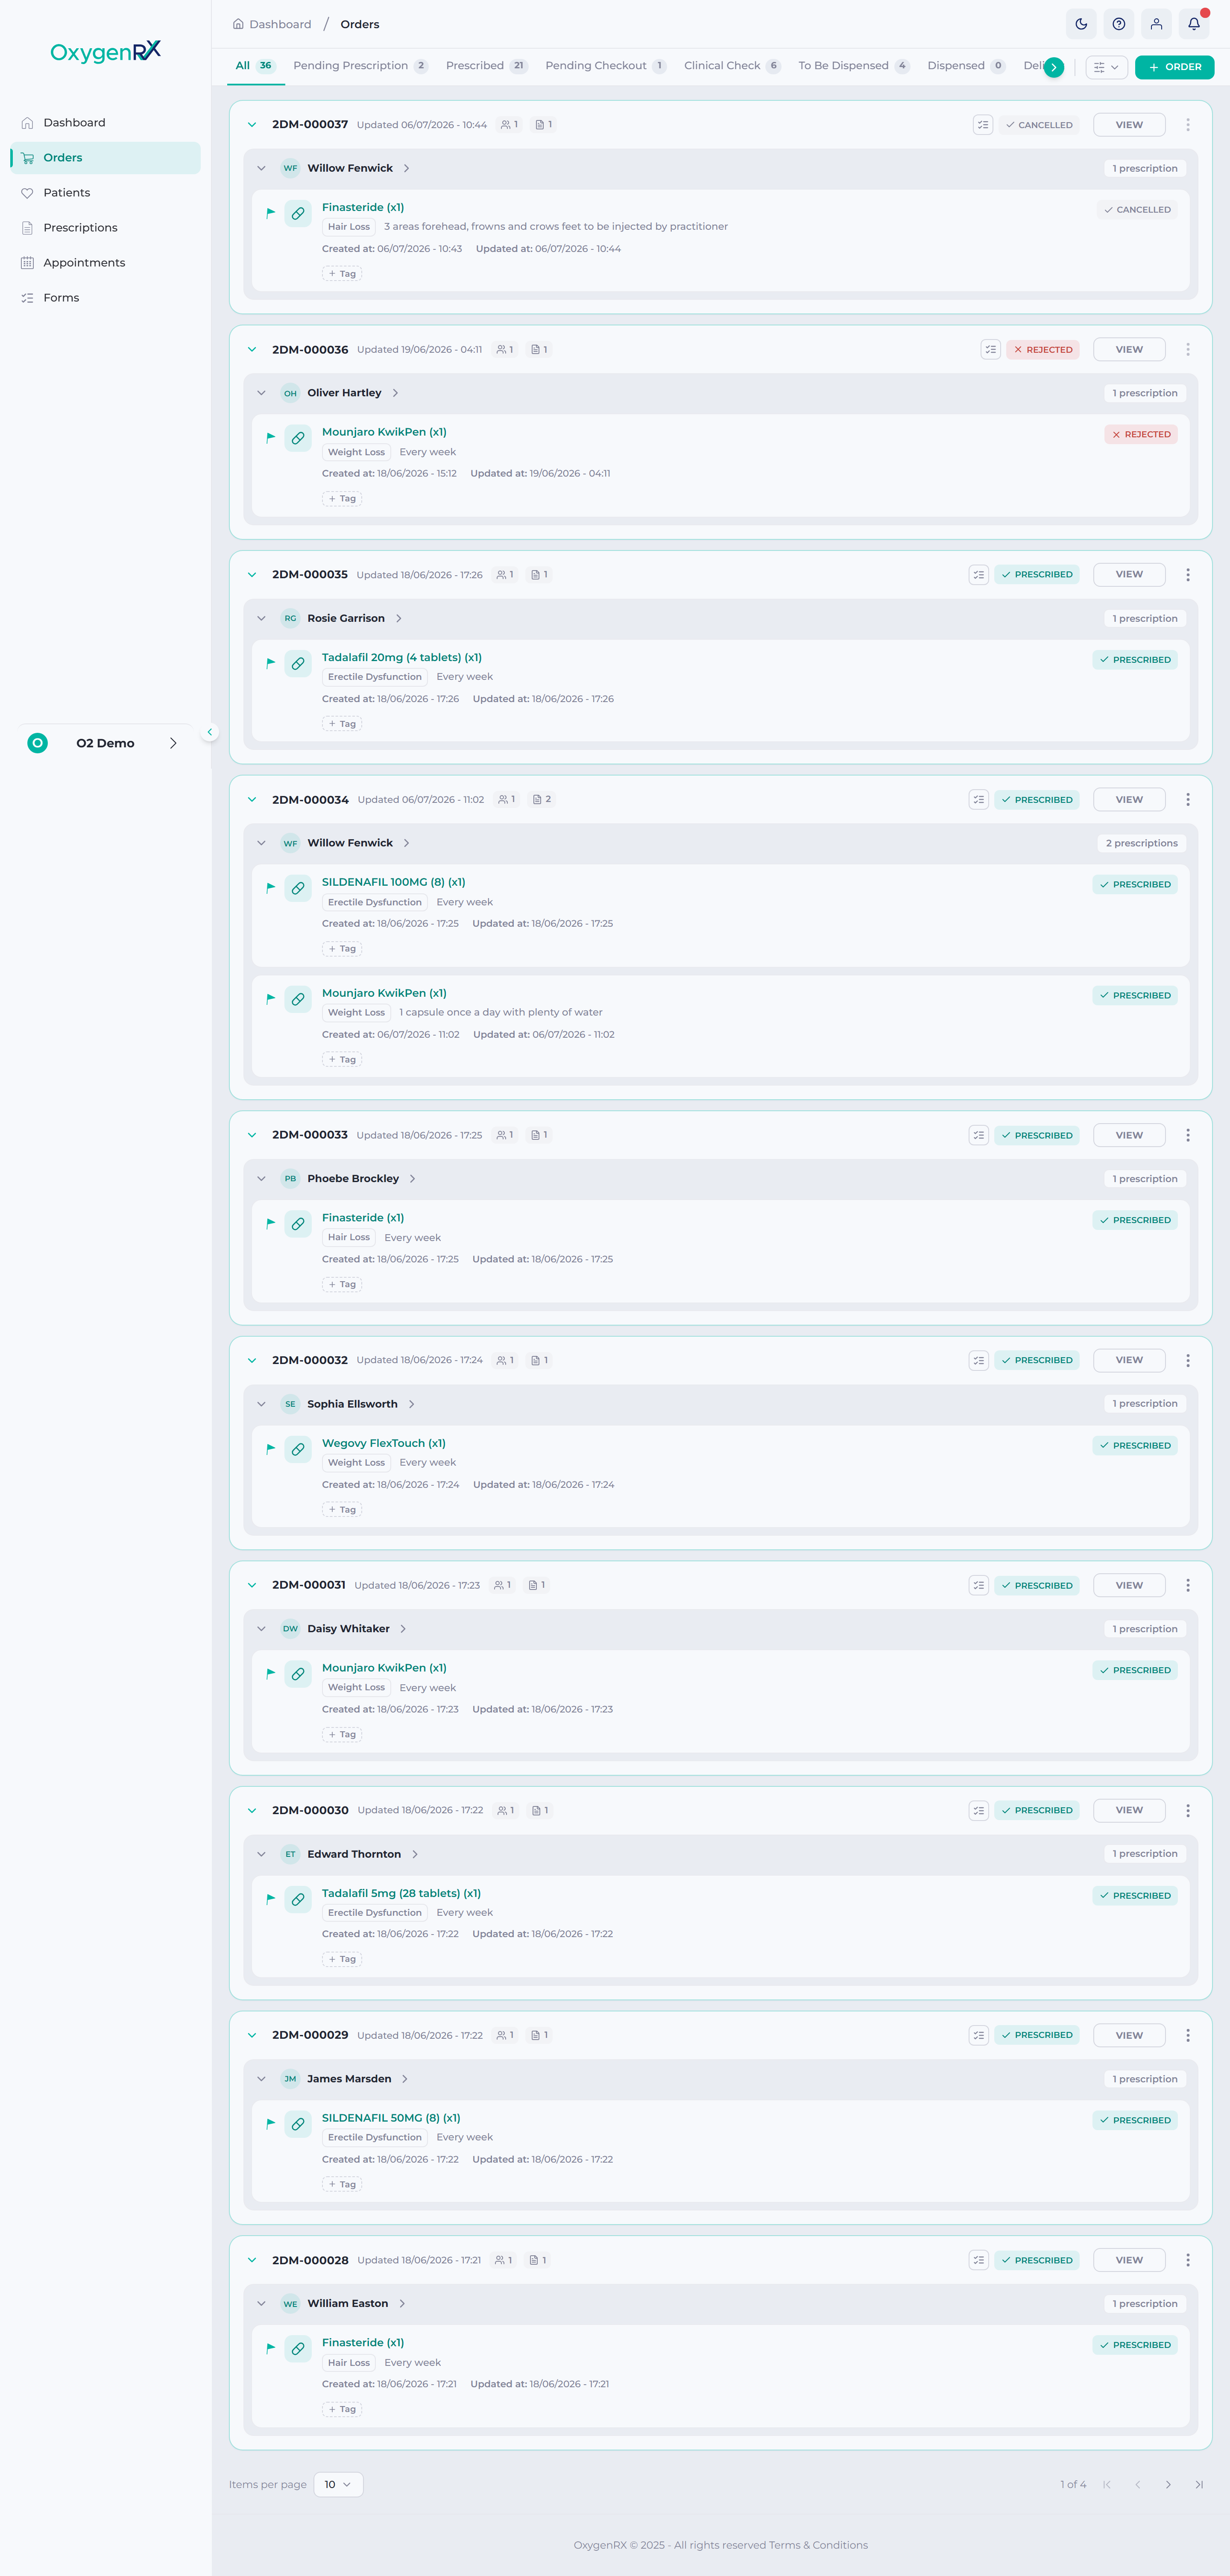
Section titled “Order statuses”The stage an order is at, shown as a coloured badge on the Orders list. Orders generally move through these stages, in order:
Pending Prescription → Prescribed → Pending Checkout → Clinical Check → To Be Dispensed → Dispensed → Delivered
An order can also be Rejected or Cancelled at various points. Two more statuses, Confirmed and Product Changed, exist too. They appear only on individual order lines, not the whole order. The full list you can filter by is: All, Pending Prescription, Prescribed, Pending Checkout, Clinical Check, To Be Dispensed, Dispensed, Delivered, Rejected, Cancelled. Order status is different from Patient Confirmation Status. See Patient Confirmation Status.
Organization
Section titled “Organization”The pharmacy or company account your work is filed under. If you belong to more than one organization, you’ll see a “Choose an organization” screen. Pick one when you sign in. Everything you see afterwards belongs to that organization — patients, prescriptions, and orders. Switching organization changes what you can see. Some buttons, such as Book Consultation, turn off if your organization doesn’t match the order’s.
Patient Confirmation Status
Section titled “Patient Confirmation Status”Whether a patient confirmed and paid for an order sent as a payment link. It shows as Confirmed, Rejected, or Pending. This is separate from the main order status. Organizations with API access see this as a badge. It reads Patient Confirmed, Pending Patient Confirmation, or Patient Rejected. You can also filter orders by it.
Pending status (invited user)
Section titled “Pending status (invited user)”The status shown next to a user you’ve invited who hasn’t accepted yet. It appears as a pending badge on the Users list. It stays until they open their invitation link and finish setting up their account.
Prescription lifecycle
Section titled “Prescription lifecycle”When you add a prescription, you choose how to save it. Save as Draft stores it so you can keep editing. No secure PIN is needed for this. Save & Prescribe issues it straight away. You’ll be asked for a 6-digit secure PIN to confirm.
A saved prescription then moves through these statuses: Draft → Reviewed → Signed. Later it may become Expiring Soon or Expired, or it can be Cancelled. On an existing prescription, the same two steps are called Confirm & Review and Prescribe.
Prescription statuses
Section titled “Prescription statuses”The badge shown on a prescription that tells you where it is in its lifecycle:
| Status | What it means |
|---|---|
| Draft | Saved but not issued yet; still editable |
| Reviewed | Checked and confirmed, waiting to be prescribed |
| Signed | Prescribed and issued |
| Expiring Soon | Close to its expiry date |
| Expired | Past its expiry date |
| Cancelled | Cancelled, with a reason recorded |
You can only download the PDF, or use Print/View, once a prescription is Signed. Before that, clicking them shows “Prescription is not yet prescribed.”
Product change request
Section titled “Product change request”A request to swap the product on an existing prescription. Click Product Change on the prescription’s detail page. This unlocks its product boxes so you can edit them. Click Confirm Product Change when you’re done. If two-factor authentication is on, you’ll need your secure PIN too. The request then moves through Pending Patient Approval, then Pending Prescriber Approval. It ends as Approved or Rejected. An approved change issues a brand-new prescription, linked back with a New Reference. On the order, this shows as a Product Changed line status.
Product variant
Section titled “Product variant”A specific version of a product, such as a different strength or pack size. The Variant box only appears when a product has more than one version. If there’s only one version, the portal chooses it for you.
Profile status
Section titled “Profile status”The approval state of your account.
| Status | What it means |
|---|---|
| Approved | Your profile is verified and active |
| Pending | An admin still needs to review it |
| Rejected | Your profile was turned down; you can’t sign in |
Your Profile page shows this as a badge. It’s ACTIVE/APPROVED in green, PENDING in amber, or REJECTED in red. A prescriber account stays Pending until certificates and insurance documents are uploaded.
Provider
Section titled “Provider”Your scheduling identity for appointments, separate from your regular portal account. It needs to be linked before you can set your availability. It also needs to be linked before you can be booked for a consultation. The same applies to opening a consultation room. If it isn’t linked, the Availability tab shows “No providers available.” On the Appointments calendar, Provider is also something you can filter by.
Public booking link
Section titled “Public booking link”A link you send a patient so they can book a consultation themselves. No sign-in is needed. It already knows the organization, event type, and patient it’s for.
Registration Authority
Section titled “Registration Authority”A list of choices on the company sign-up form and company profile. It shows which regulator the company is registered with. It’s required for company accounts, but not for individual (Licensed Professional) accounts. Right now the only option is Companies House.
Issuing a fresh prescription based on one that already exists. On a prescription’s detail page, click Renew. This button only appears when the prescription is eligible and belongs to your organization. Adjust the details in the Renew Prescription panel. The treatment stays the same as the original. Confirm with your secure PIN. Both prescriptions then show a badge linking them together, such as “Renewed as [reference]”.
Repeat dispensing
Section titled “Repeat dispensing”A switch on a prescription line that makes it repeat automatically. Turning it on makes two boxes required: Dispense Frequency and Duration. Dispense Frequency is otherwise turned off. Duration is always on the form and is optional until you turn this switch on.
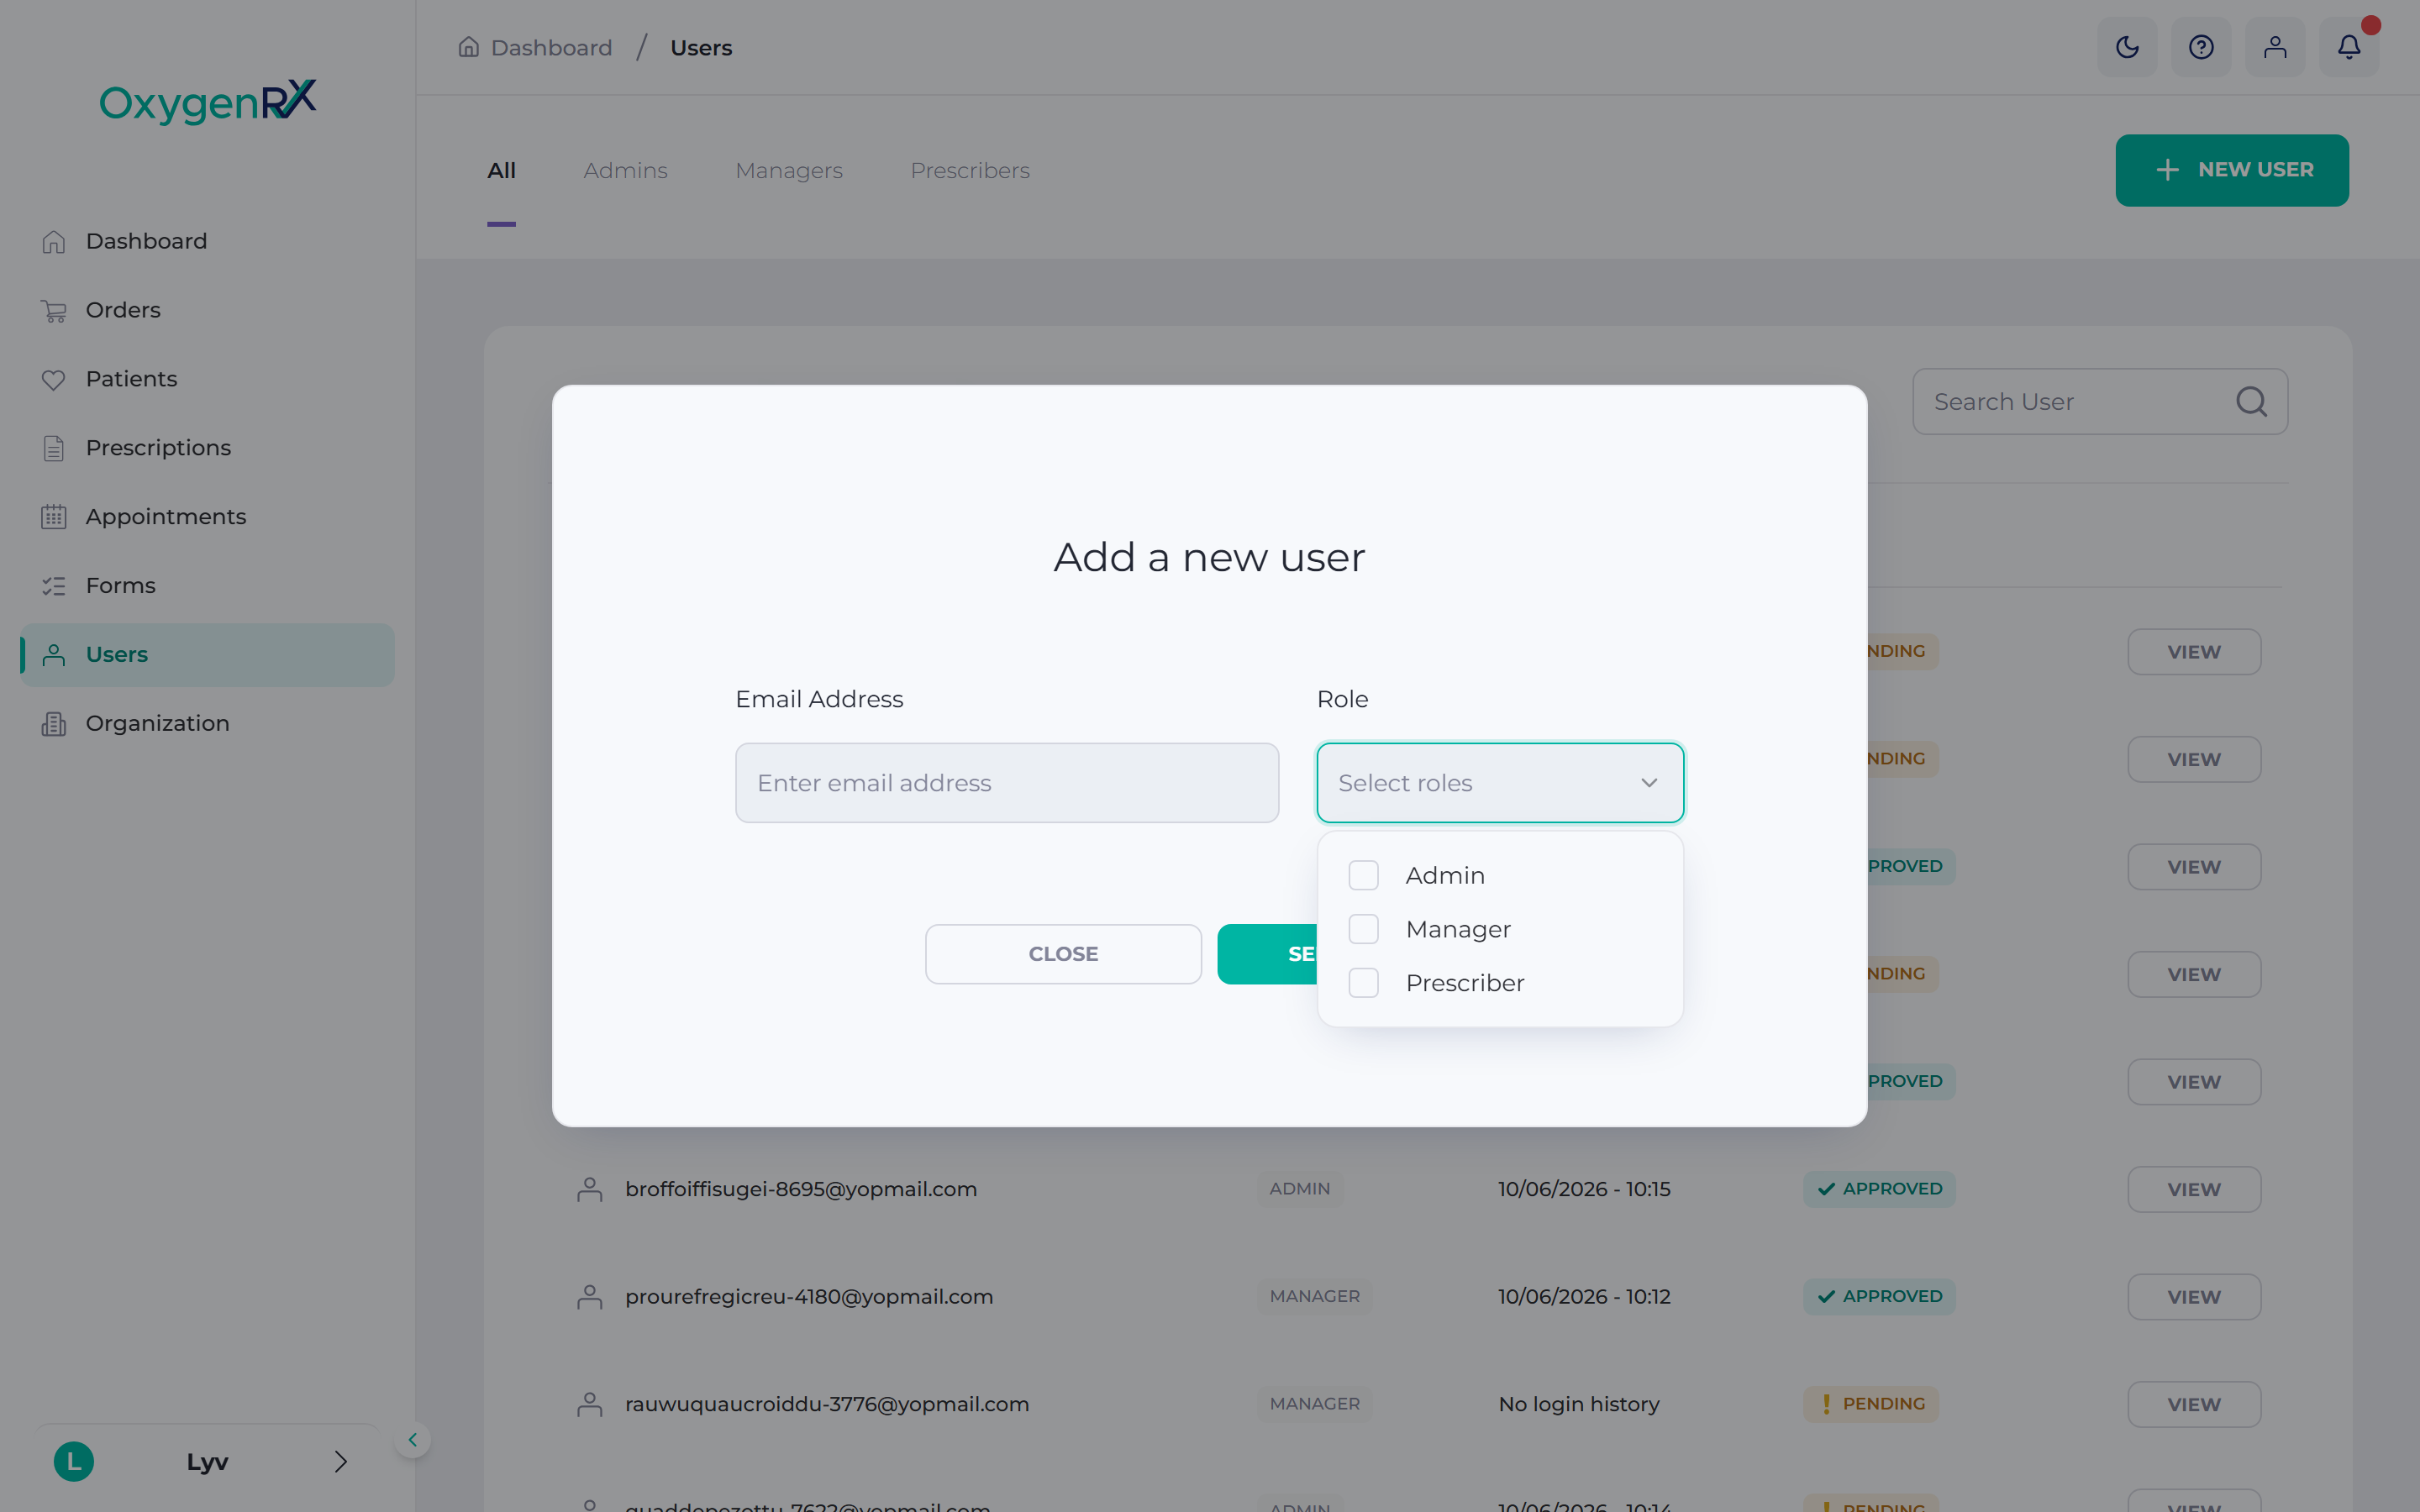
What you’re allowed to do depends on your role in the organization.
| Role | What they can typically do |
|---|---|
| Admin | Fully manage the organization: users, settings, orders, patients |
| Manager | Manage day-to-day organization operations |
| Dispenser | Dispense orders and confirm clinical checks (the pharmacist’s review before an order is dispensed) |
| Prescriber | Create and issue prescriptions |
| POM Stock Signer | Sign for Prescription-Only Medicine stock |
| Platform Admin | Manage settings across the whole platform |
Only Admin, Manager, and Prescriber can be given to a user from the Users screen. Some tabs, such as Appointments Events, only show for roles that manage them. A prescriber can never confirm a clinical check on their own order line.
Scheduled events
Section titled “Scheduled events”Actions the portal carries out for you automatically. You set the time on the prescription. Each one has a Type: Send form, Follow-up consultation, Renewal reminder, or Refill reminder. Each one also has a When. It’s a fixed date, or a time relative to the prescription. Once saved, it shows a Status: Pending, Processing, Processed, Failed, or Cancelled. You can add any of these to a draft. They are saved with the draft and only start working once you issue the prescription.
Secure PIN
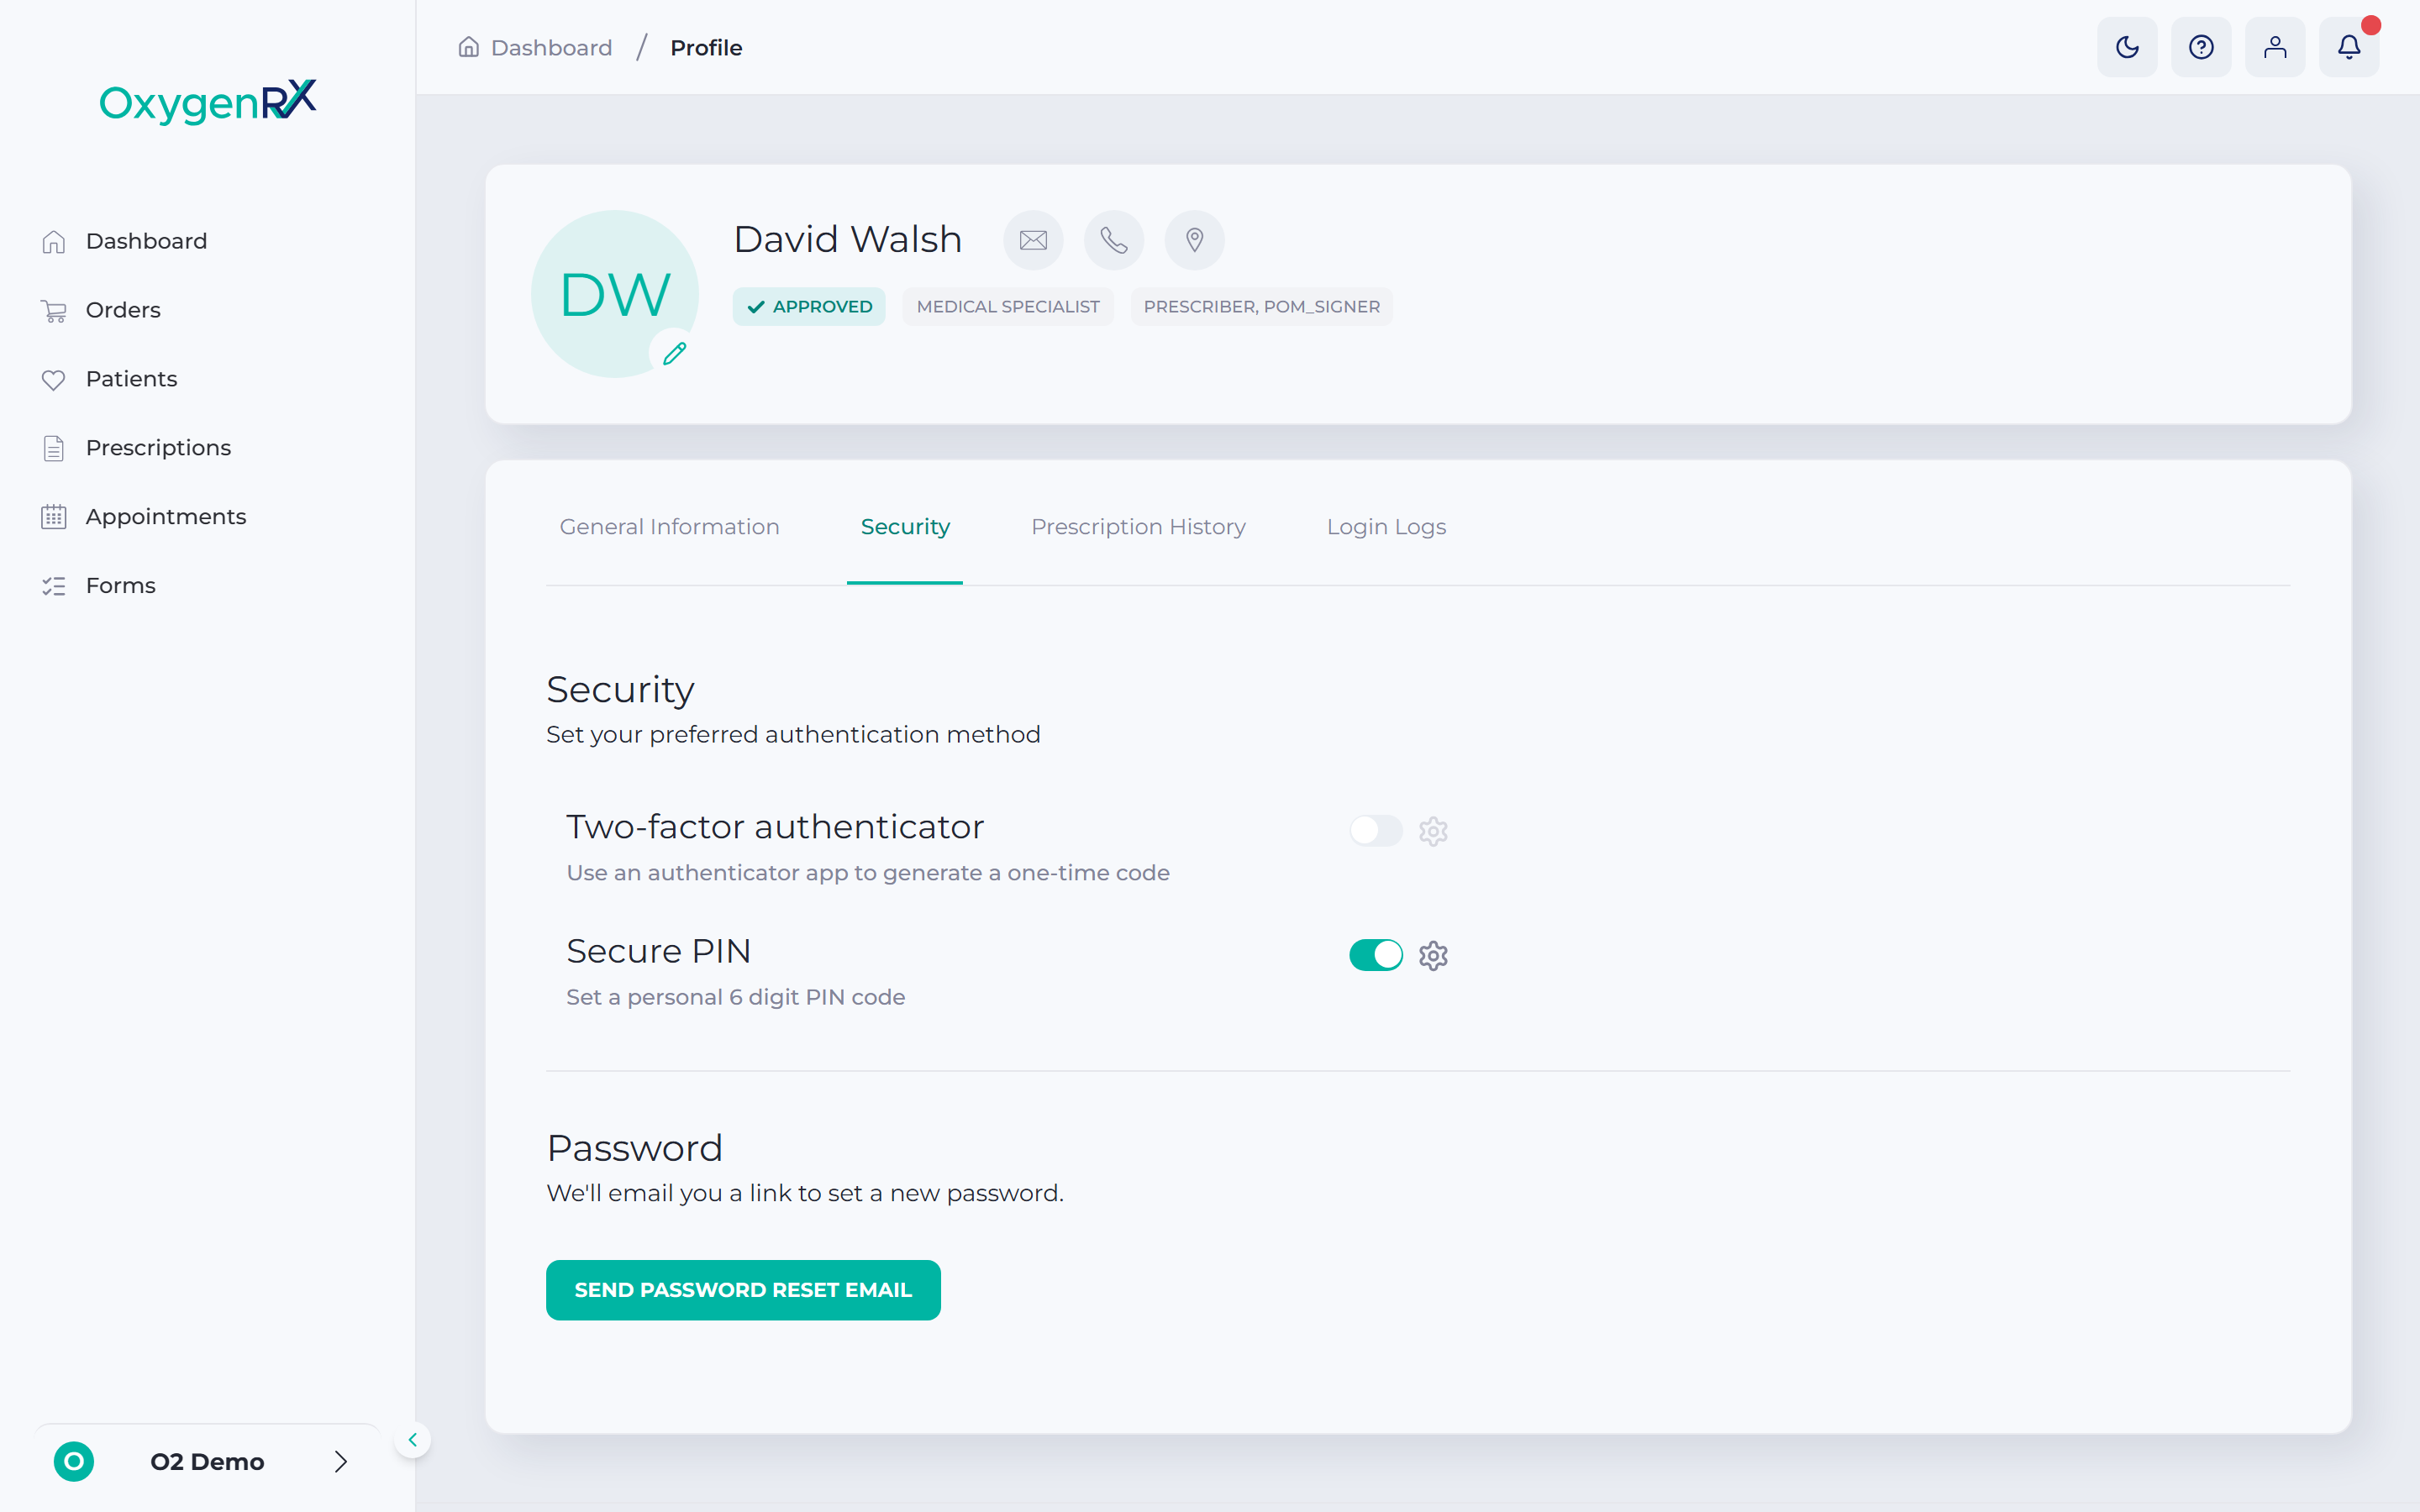
Section titled “Secure PIN”A 6-digit code, separate from your sign-in password. You set it up under Profile → Security. You’re asked for it to confirm sensitive actions. These include Save & Prescribe, Prescribe, Renew, and Confirm Product Change. Once set, you can change it or view it after confirming your password. You can also reset it by email or turn it off. All of these options live in its own menu.
Self-registration
Section titled “Self-registration”A way of joining the portal by creating your own account. You go to the sign-up page and verify your email. Then you fill in either a Company or Licensed Professional form.
A short, web-friendly name used in a link. Organization forms have a slug, shown in the Forms list. Event types have one too. It’s built into the booking link you send to patients. Opening the link skips straight to the right event.
Treatment
Section titled “Treatment”A category linked to prescriptions, patients, and forms, such as a type of therapy. You choose a Treatment when adding or renewing a prescription — it’s required. Patients also have a Treatments tab. The Send Form small window asks you to “Select A Treatment”.
Two-factor authentication
Section titled “Two-factor authentication”A 6-digit code from an authenticator app on your phone. You set it up under Profile → Security. It does not appear on the ordinary sign-in screen. Instead, the portal asks for it before certain sensitive actions. In Orders, that includes Prescribe, Reject, Cancel, and Remove Cart. For checkout, it’s needed only when the portal decides it is. On Organization settings, it confirms saving details, and viewing or resetting the API key. Prescription pages label this same 6-digit code a secure PIN instead.