

How to prescribe
This page shows you how to write and send a new prescription for a patient.
a short walkthrough of writing and sending a prescription, from opening the panel to the confirmation window.
prescriptions-how-to-prescribe.mp4Who can do this: Prescribers. Other users can view prescriptions but cannot send them. See roles for what each role can do.
- Click Prescriptions in the main menu.
- Click Prescription. A panel slides in with a patient search box.
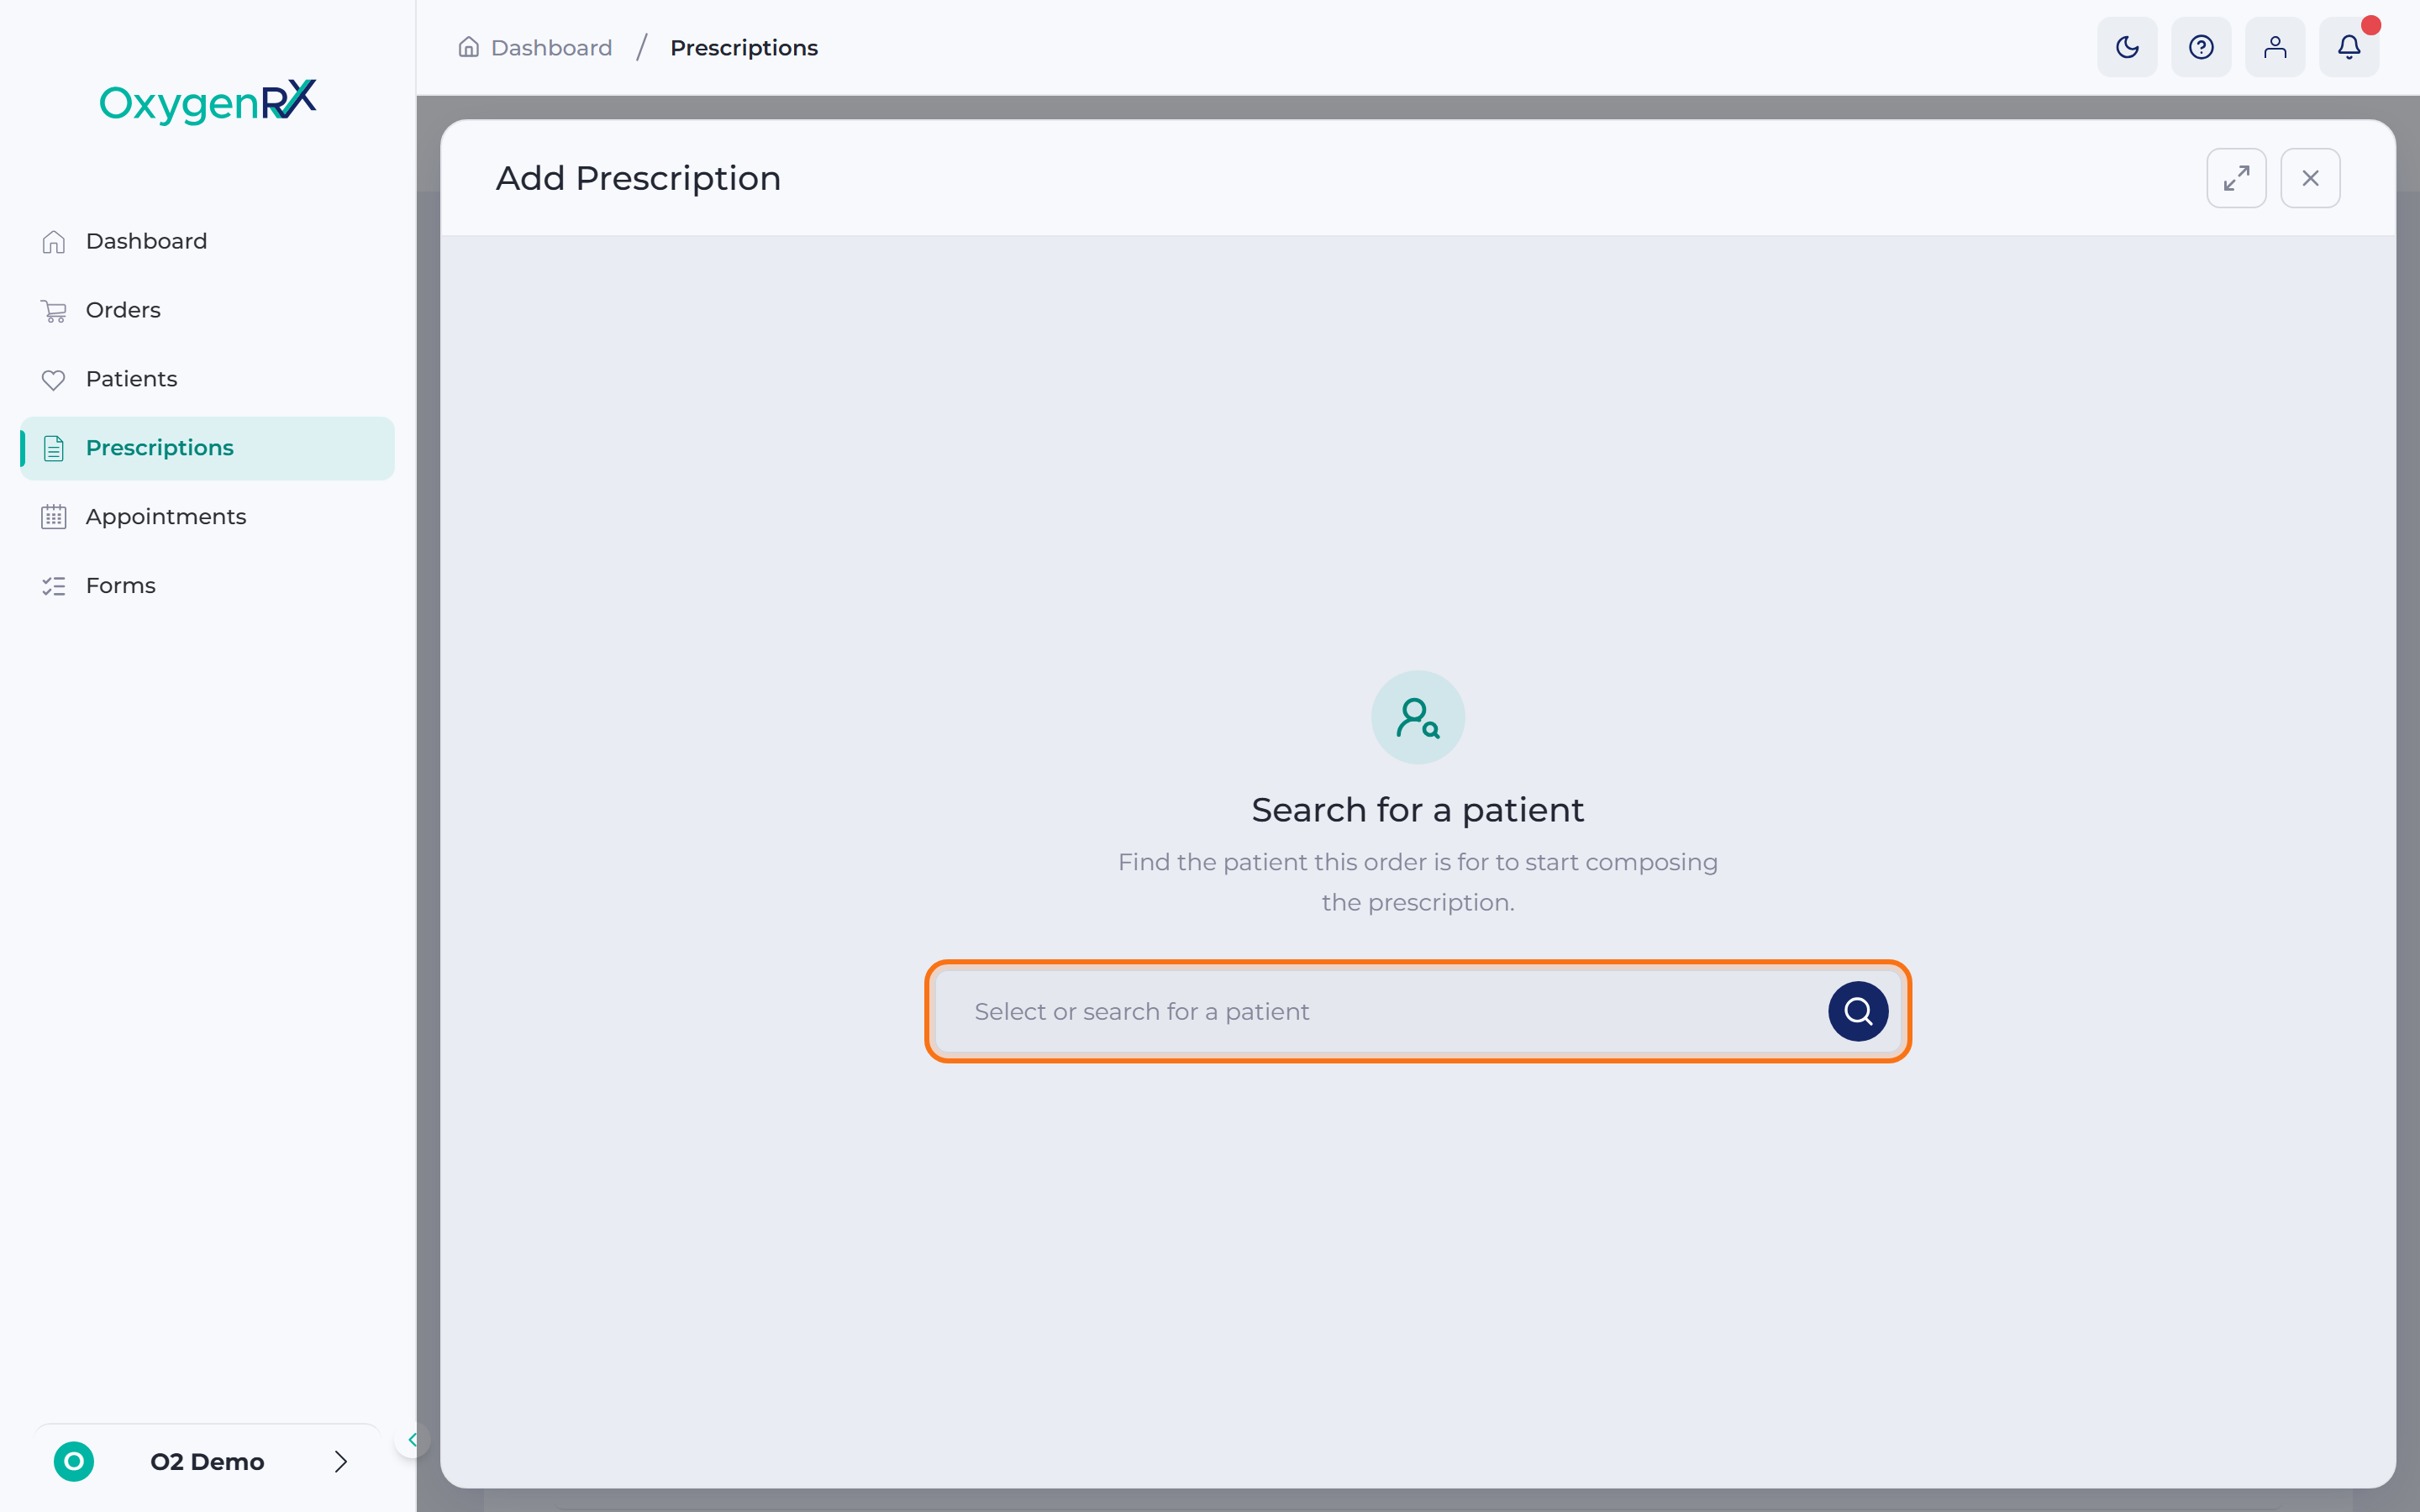
the Add Prescription panel with the patient search box open. - Type the patient’s name or reference in the search box.
- Select the patient from the matching results. The prescription form appears below their details, in the same panel.
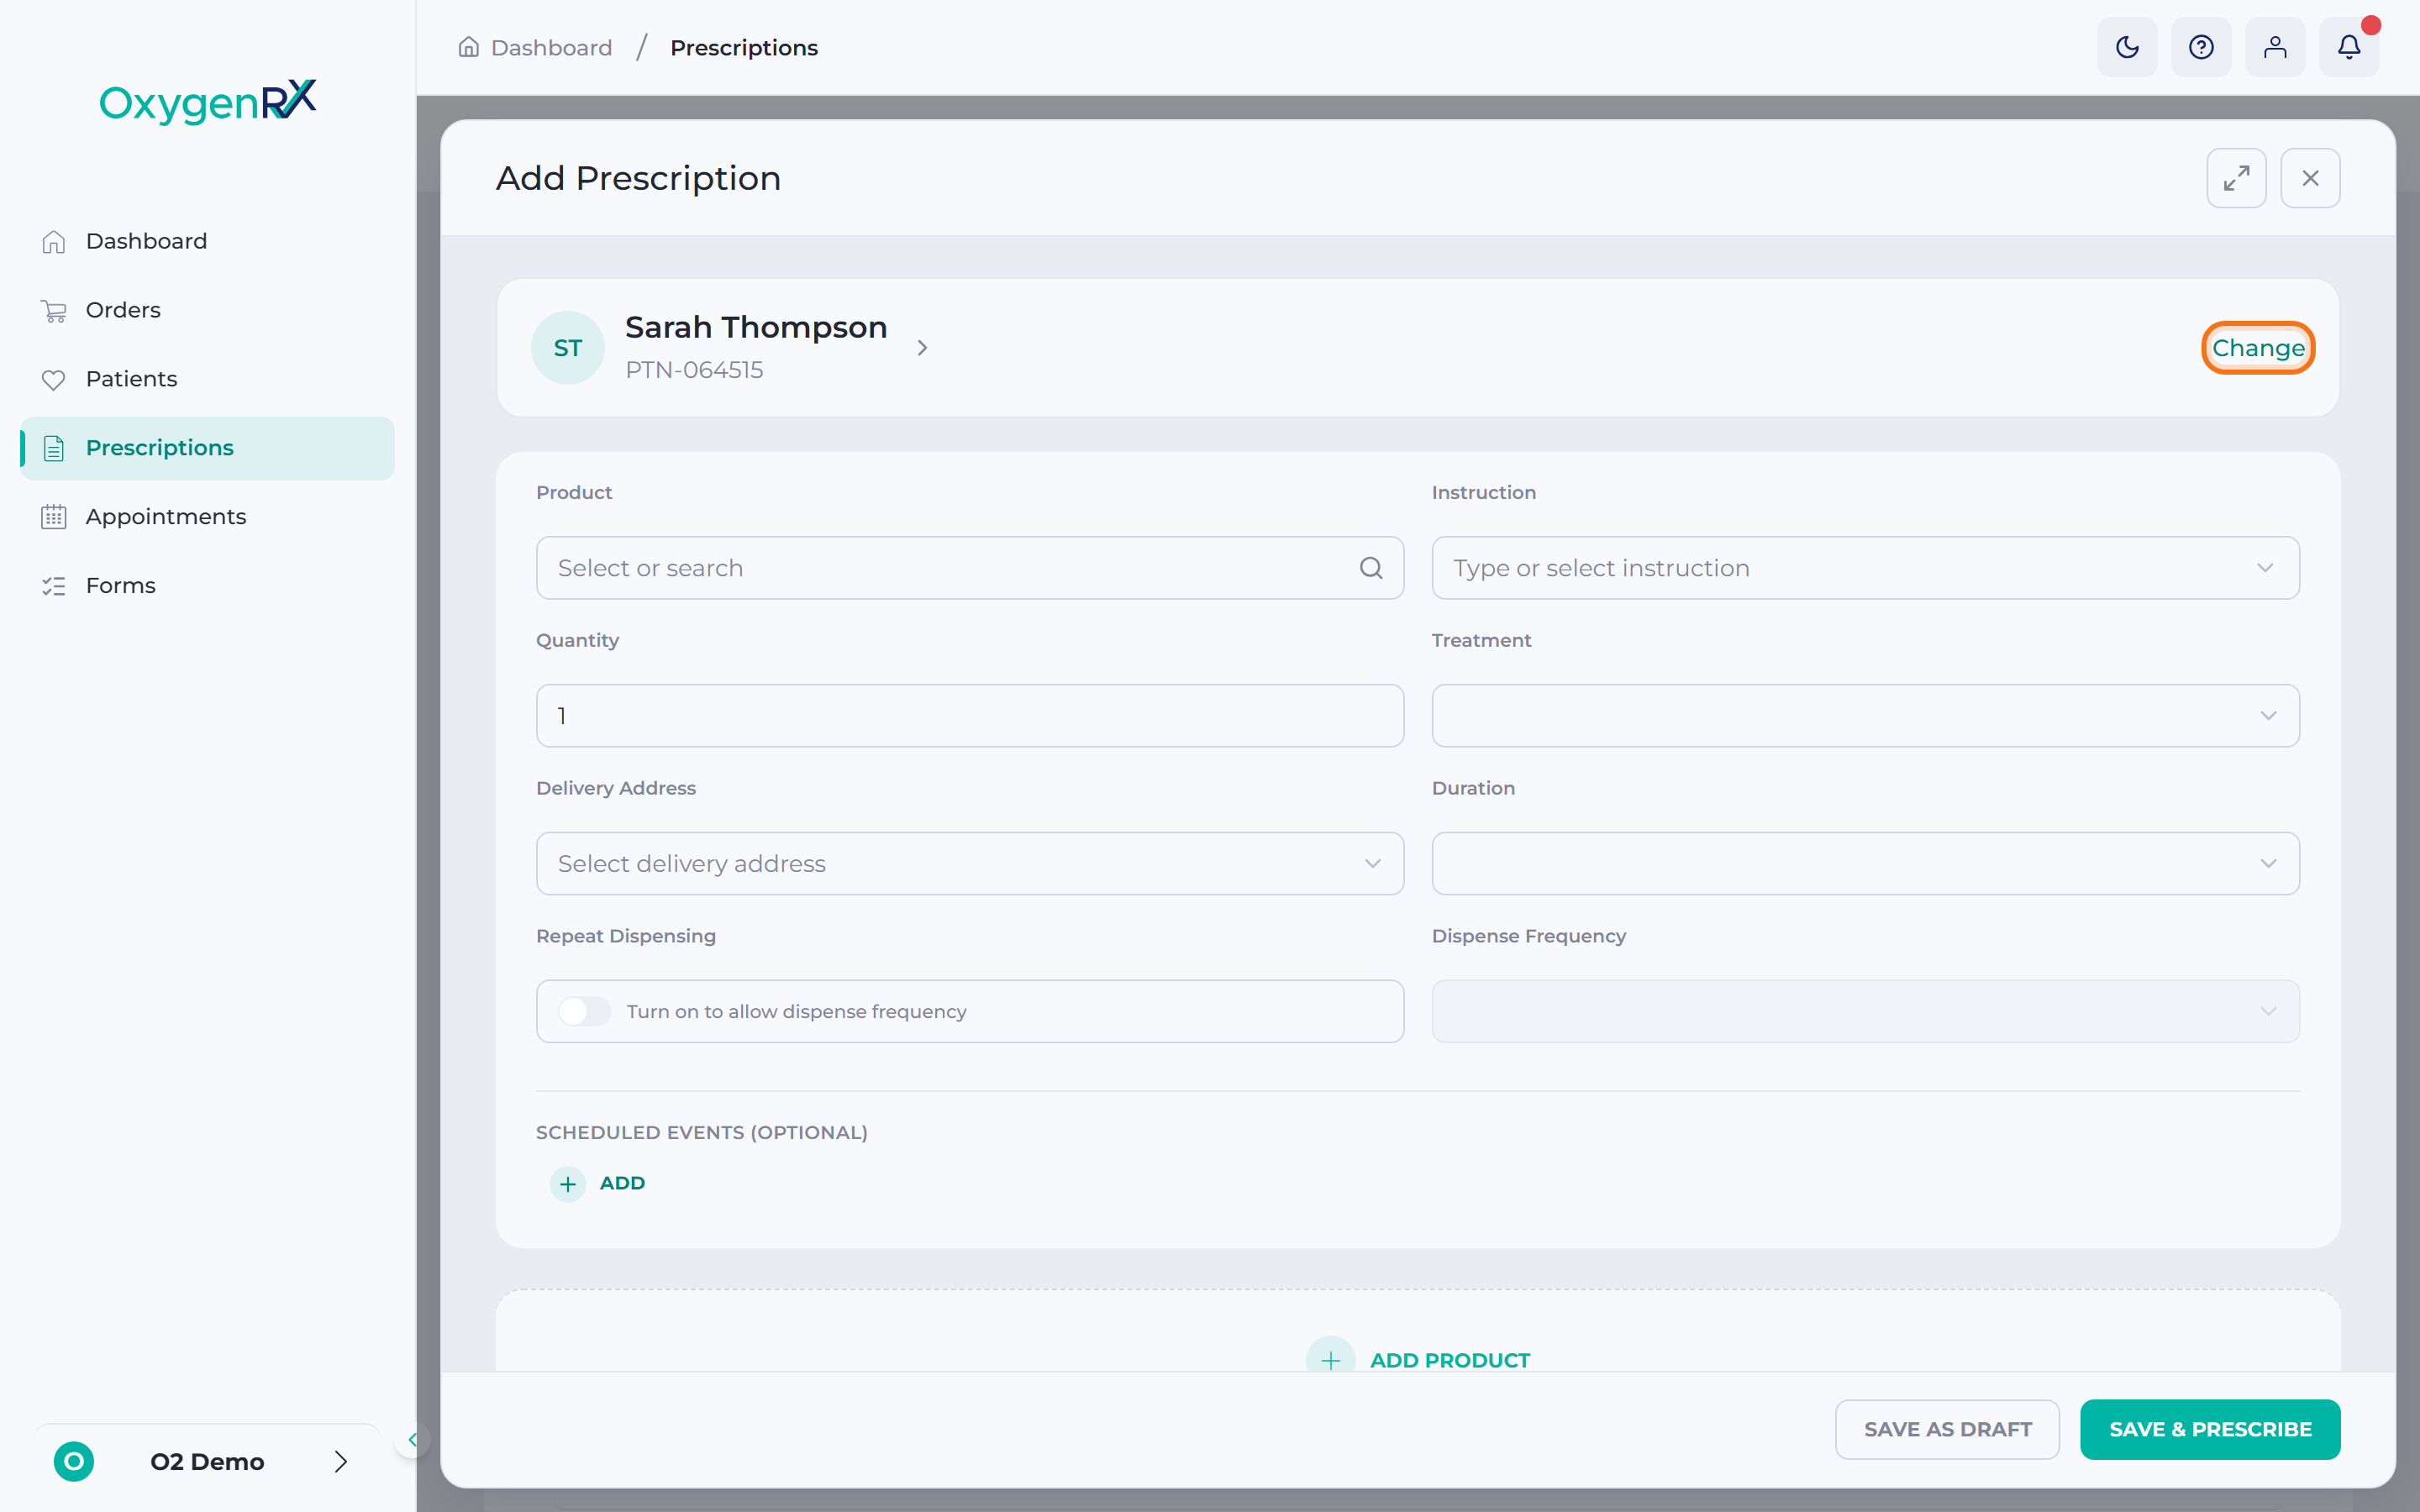
the panel showing the selected patient strip above the empty prescription form. - Under Product:
- Search for the medicine.
- Select it from the matching results.
- If a list of variants appears, select the correct one.
- In Instruction, type or choose the dosing instructions.
- In Quantity, enter how many units to prescribe.
- In Treatment, select the treatment this prescription is for.
- In Delivery Address, select where the medicine should be sent.
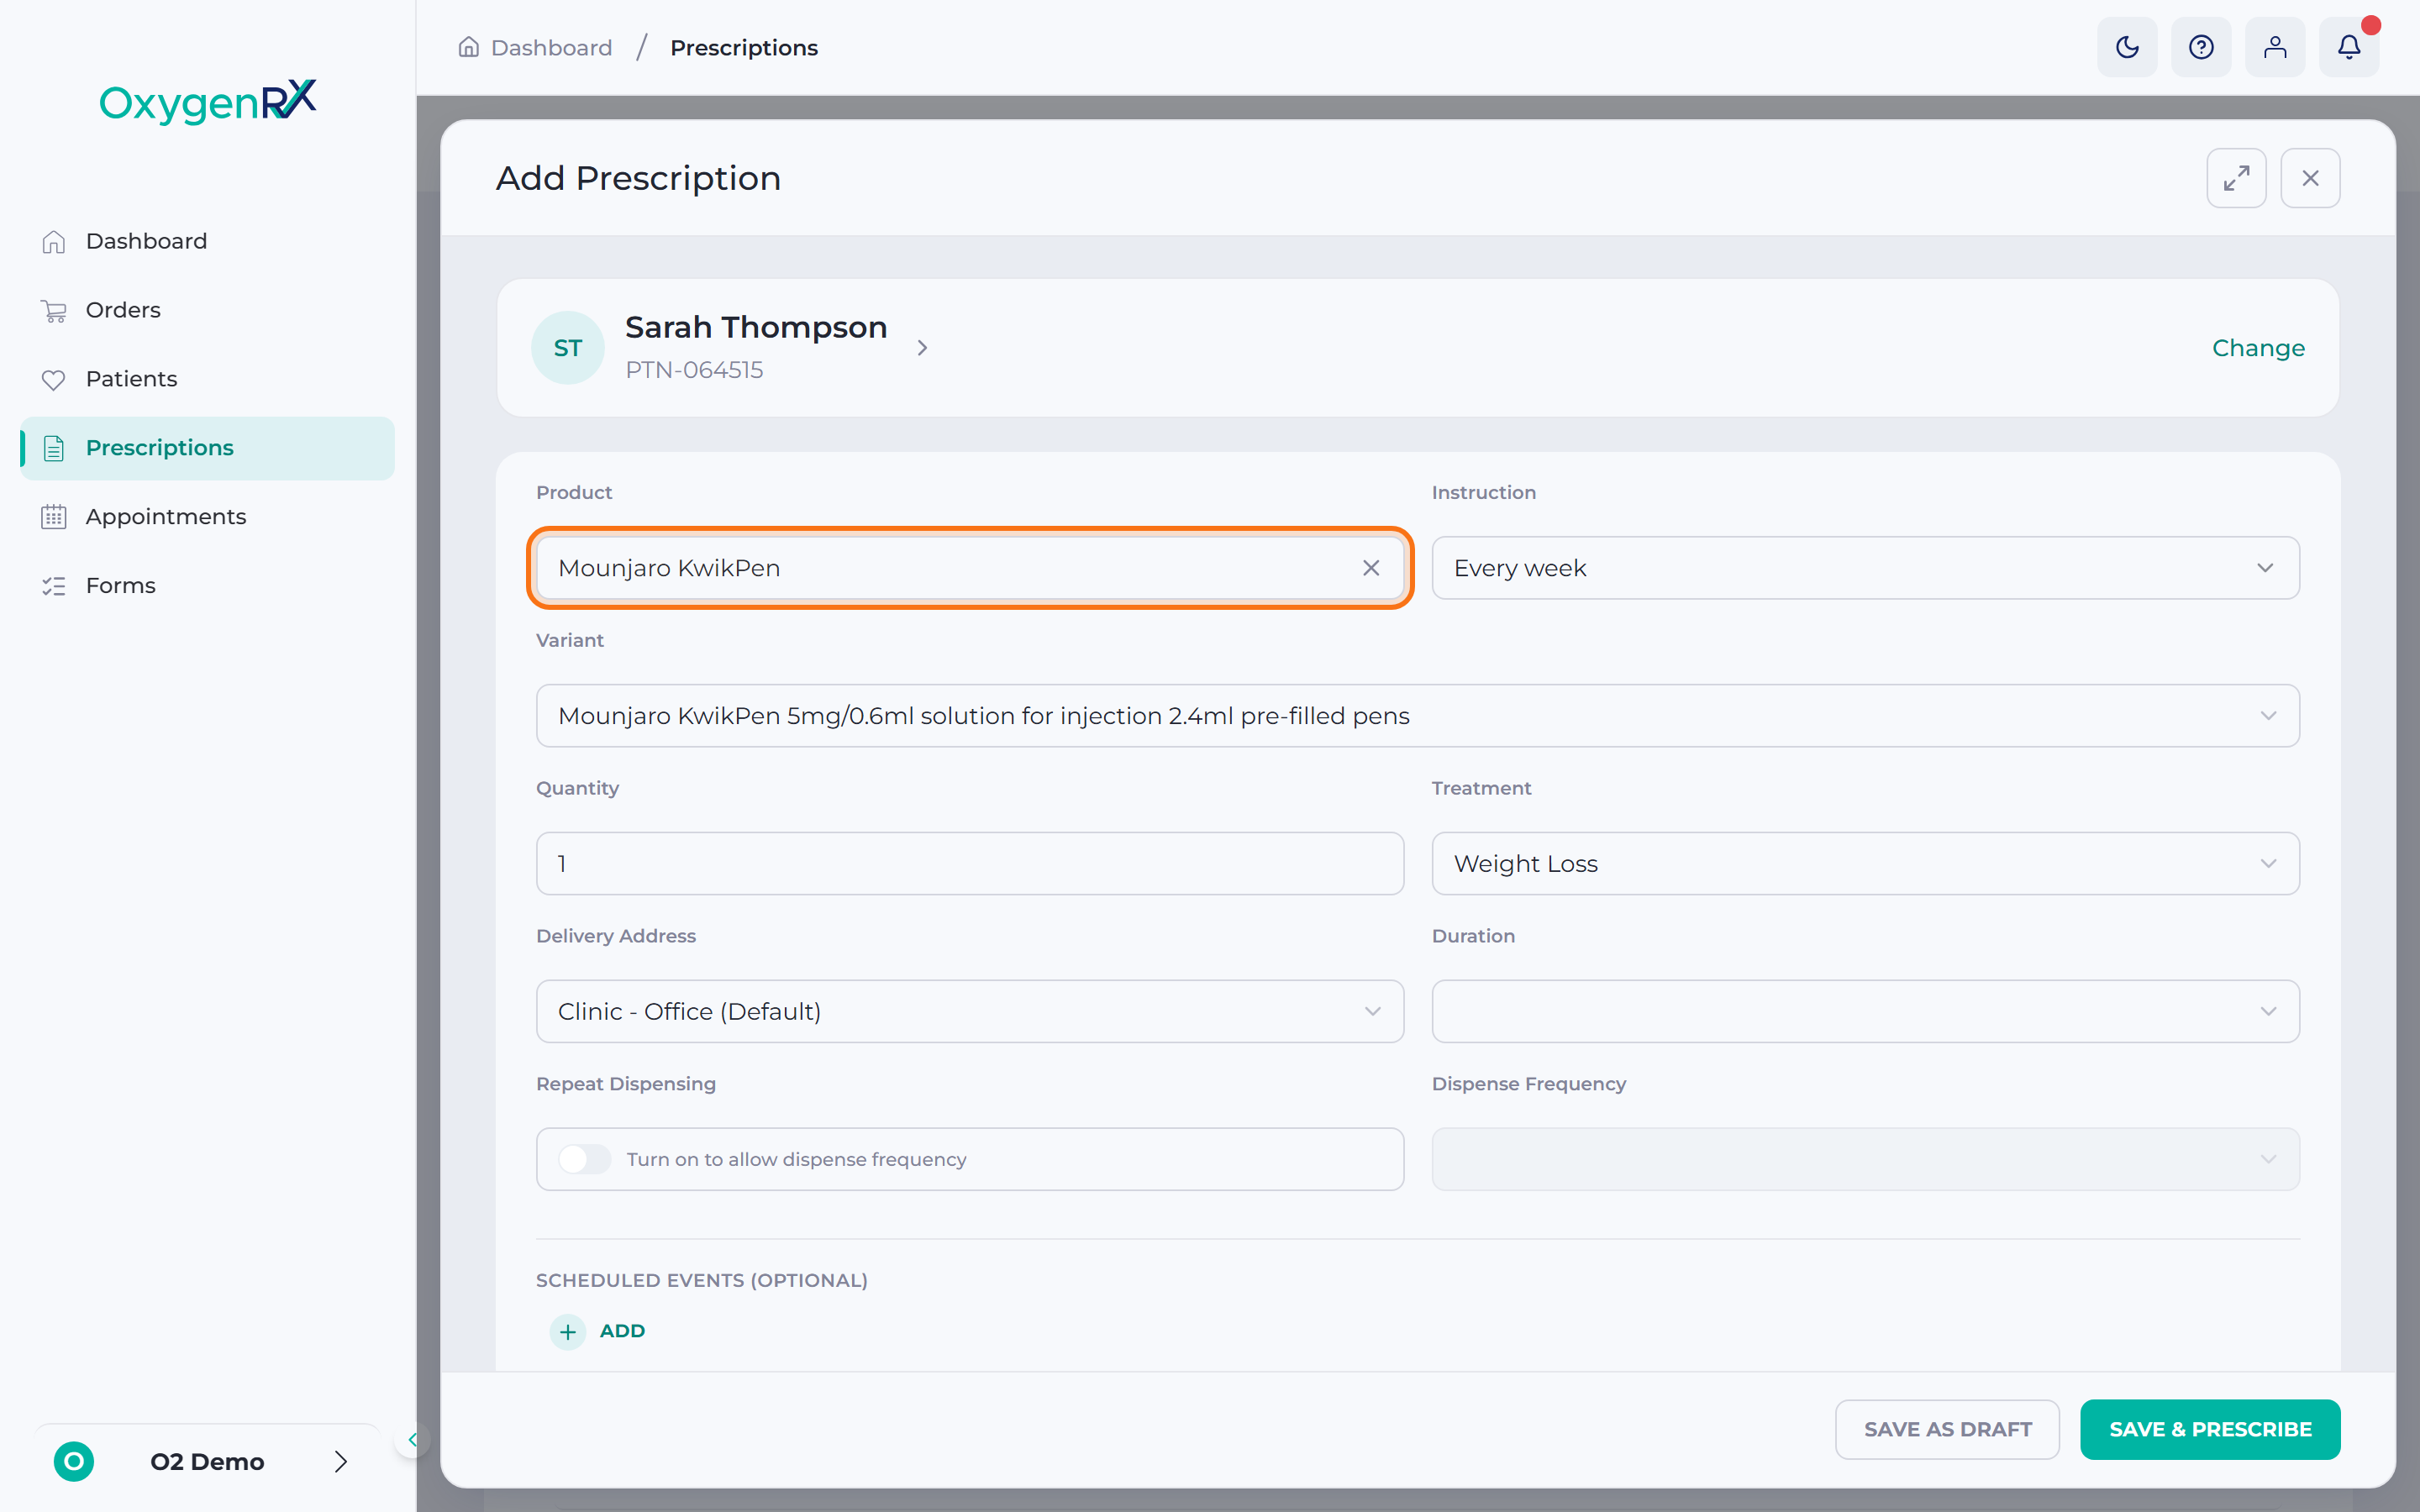
- In Duration, select how long the course should last. This box is always there. It is optional unless you turn on Repeat Dispensing.
- Turn on Repeat Dispensing if the patient needs regular repeat supplies.
- If Repeat Dispensing is on, select a Dispense Frequency. A Duration is now required too, so go back and fill it in if you left it empty.
- Click Add Product if you need to prescribe more than one item.
- Add any scheduled events for this product, if needed. See Scheduled events.
- Click Save & Prescribe.
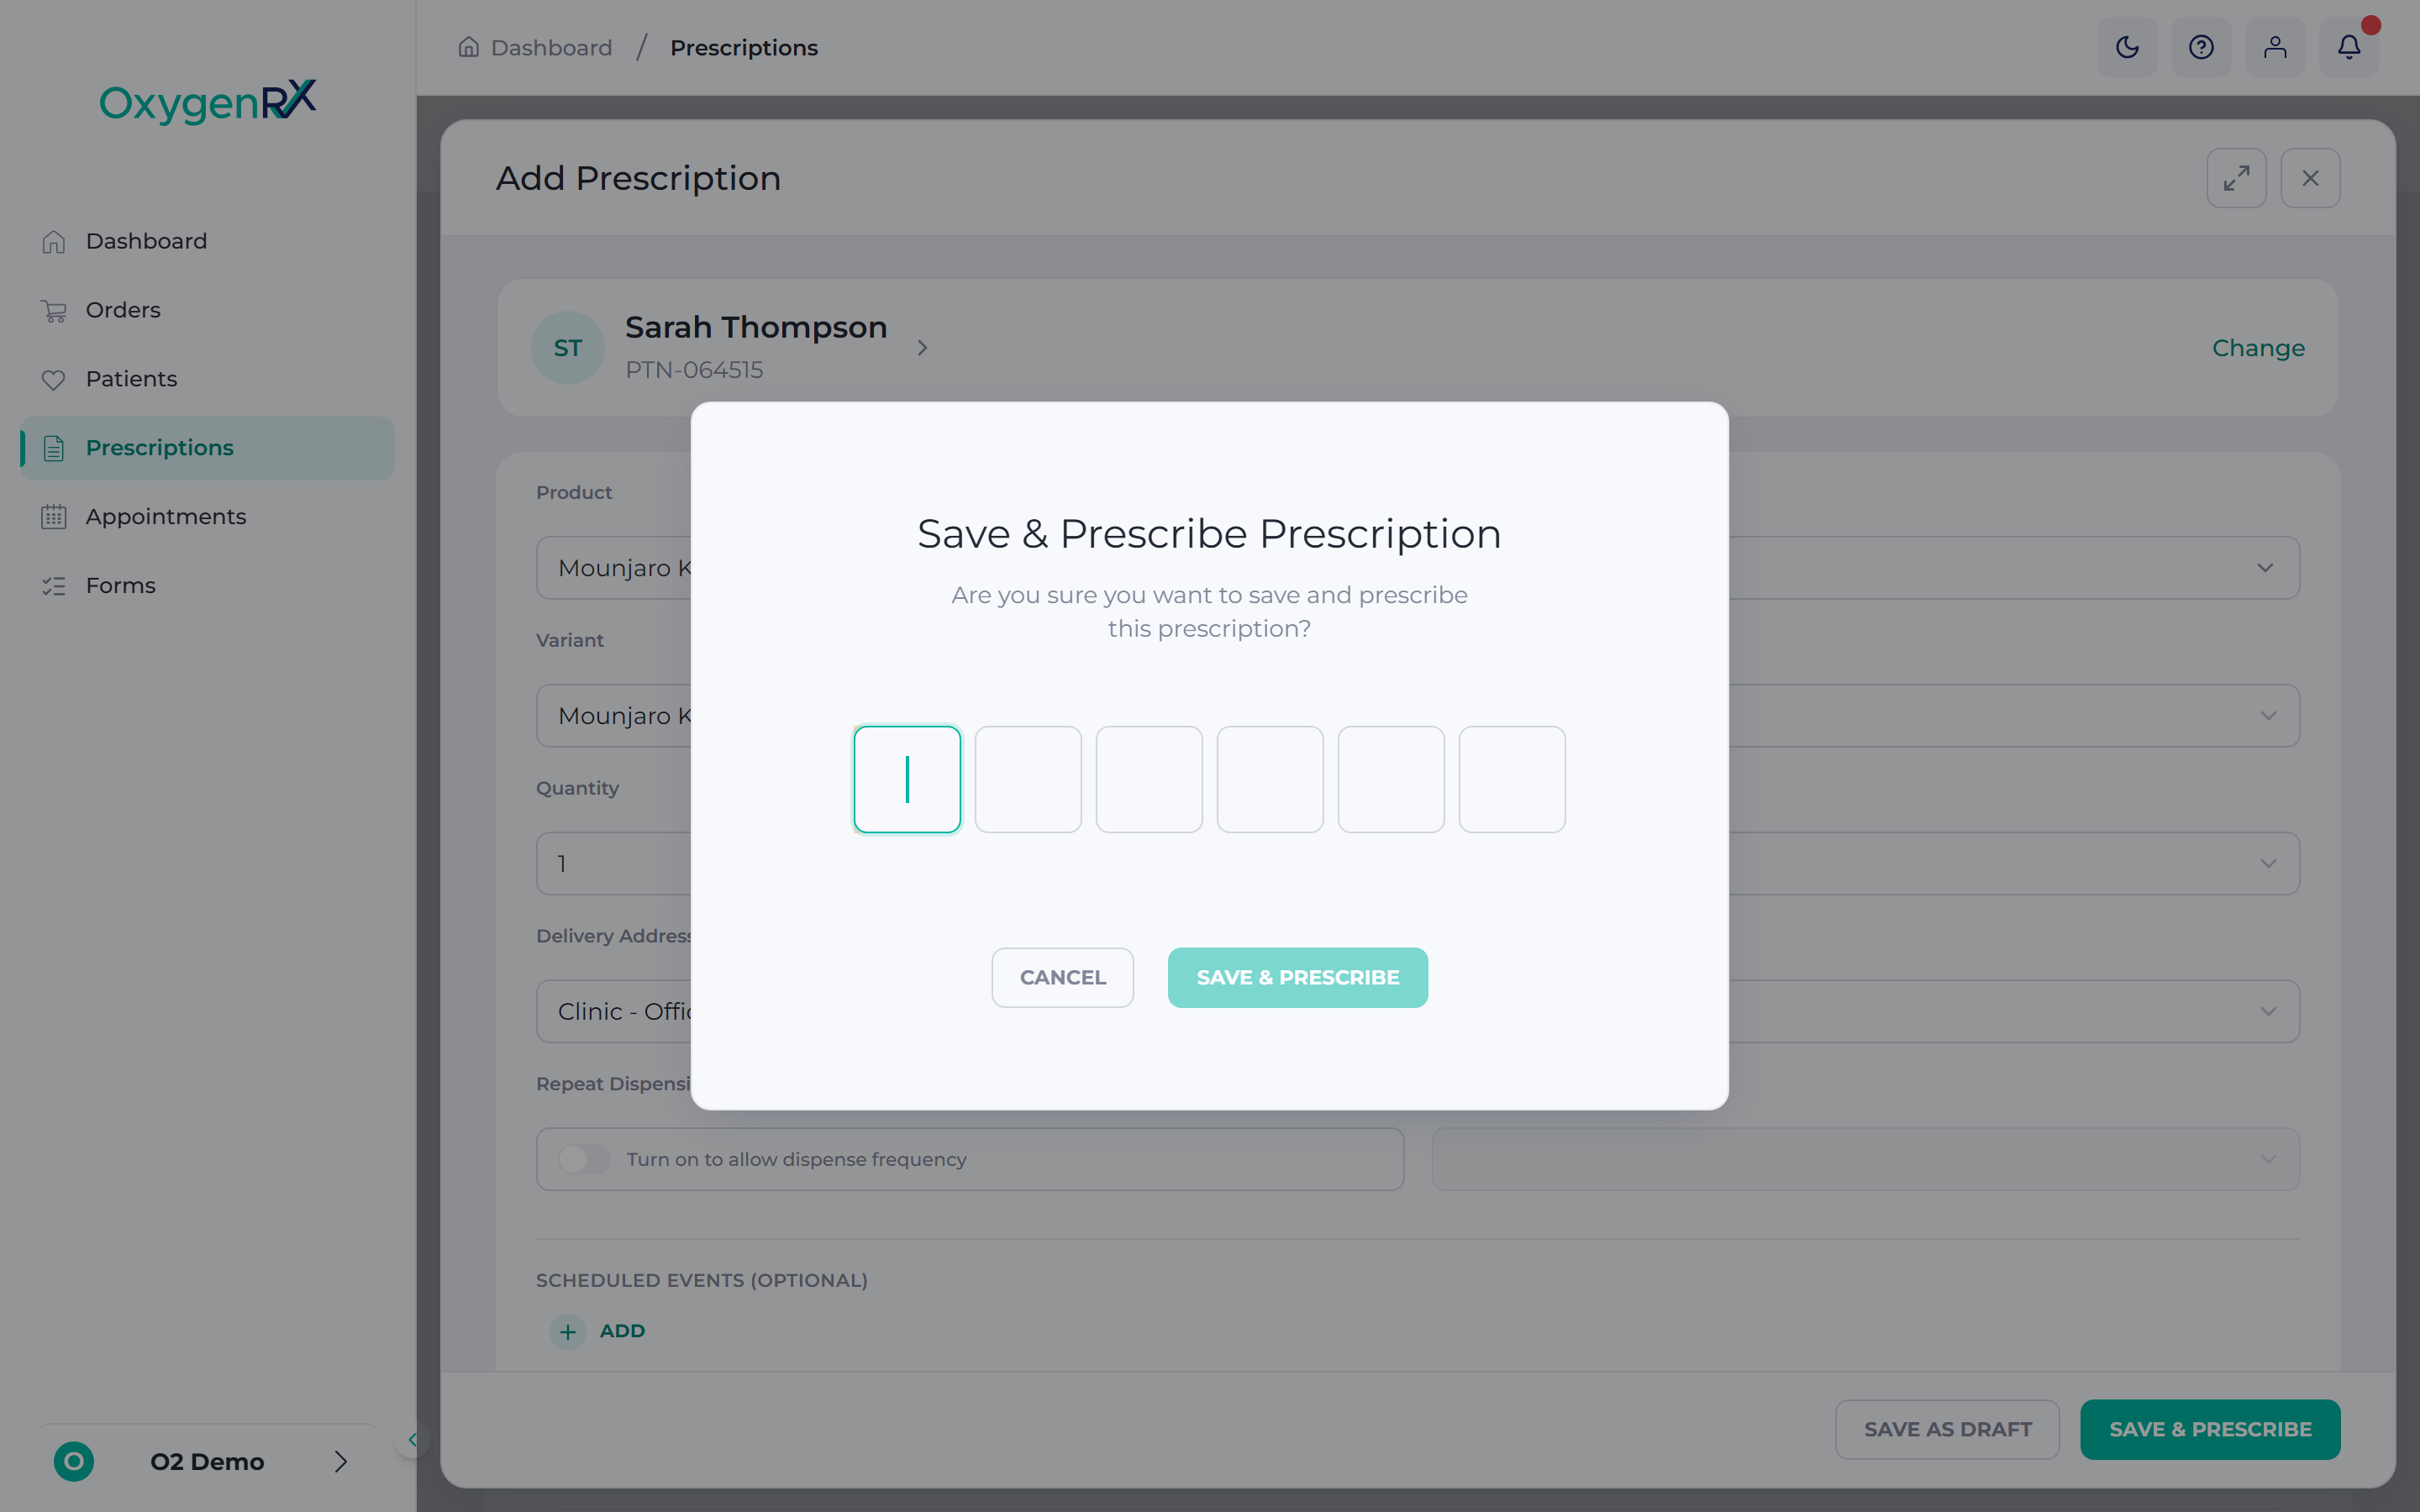
the Save & Prescribe Prescription confirmation window with the Secure PIN box. - In the confirmation window, enter your 6-digit Secure PIN.
- Click Save & Prescribe to confirm and send the prescription.
What happens next
Section titled “What happens next”The prescription is issued and its status changes to Signed. The panel closes. If you started from the Prescriptions list, the new prescription appears at the top there. If you started from the patient’s profile, it appears in their prescriptions instead. Then the order moves on through clinical check, dispensing, and delivery. See the prescription lifecycle for the full journey. Once prescribed, you can view its PDF and history at any time.
If something goes wrong
Section titled “If something goes wrong”- One of these messages means a box on the form is empty or incorrect: “Product is required”, “Instructions are required”, “Quantity must be at least 1”, “Treatment is required”, or “Invalid delivery address”. Fill it in and try again.
- You see “Frequency is required for repeat requests” or “Duration is required for repeat requests”. This means you turned on Repeat Dispensing but left a box empty. Fill in both Dispense Frequency and Duration.
- “At least one product is required” — add at least one product before saving.
- “You have an unsaved scheduled event. Save it (✓) or cancel it before saving.” — you left a scheduled event open. Click the tick to save it, or the cross to cancel it, then try again.
- If Save & Prescribe stays greyed out, check your Secure PIN has exactly 6 digits.