

Security: 2FA, PIN, and password
This page shows you how to turn on two-factor authentication. It also covers setting a Secure PIN and changing your password.
a full walkthrough of turning on Two-factor authenticator and Secure PIN from the Security tab
profile-security.mp4Who can do this: Any portal user.
Two-factor authenticator
Section titled “Two-factor authenticator”A Two-factor authenticator asks for a 6-digit code from an app on your phone. You enter this code to confirm sensitive actions, like prescribing, rejecting, or cancelling an order. It does not add an extra step to signing in. Read more in the glossary.
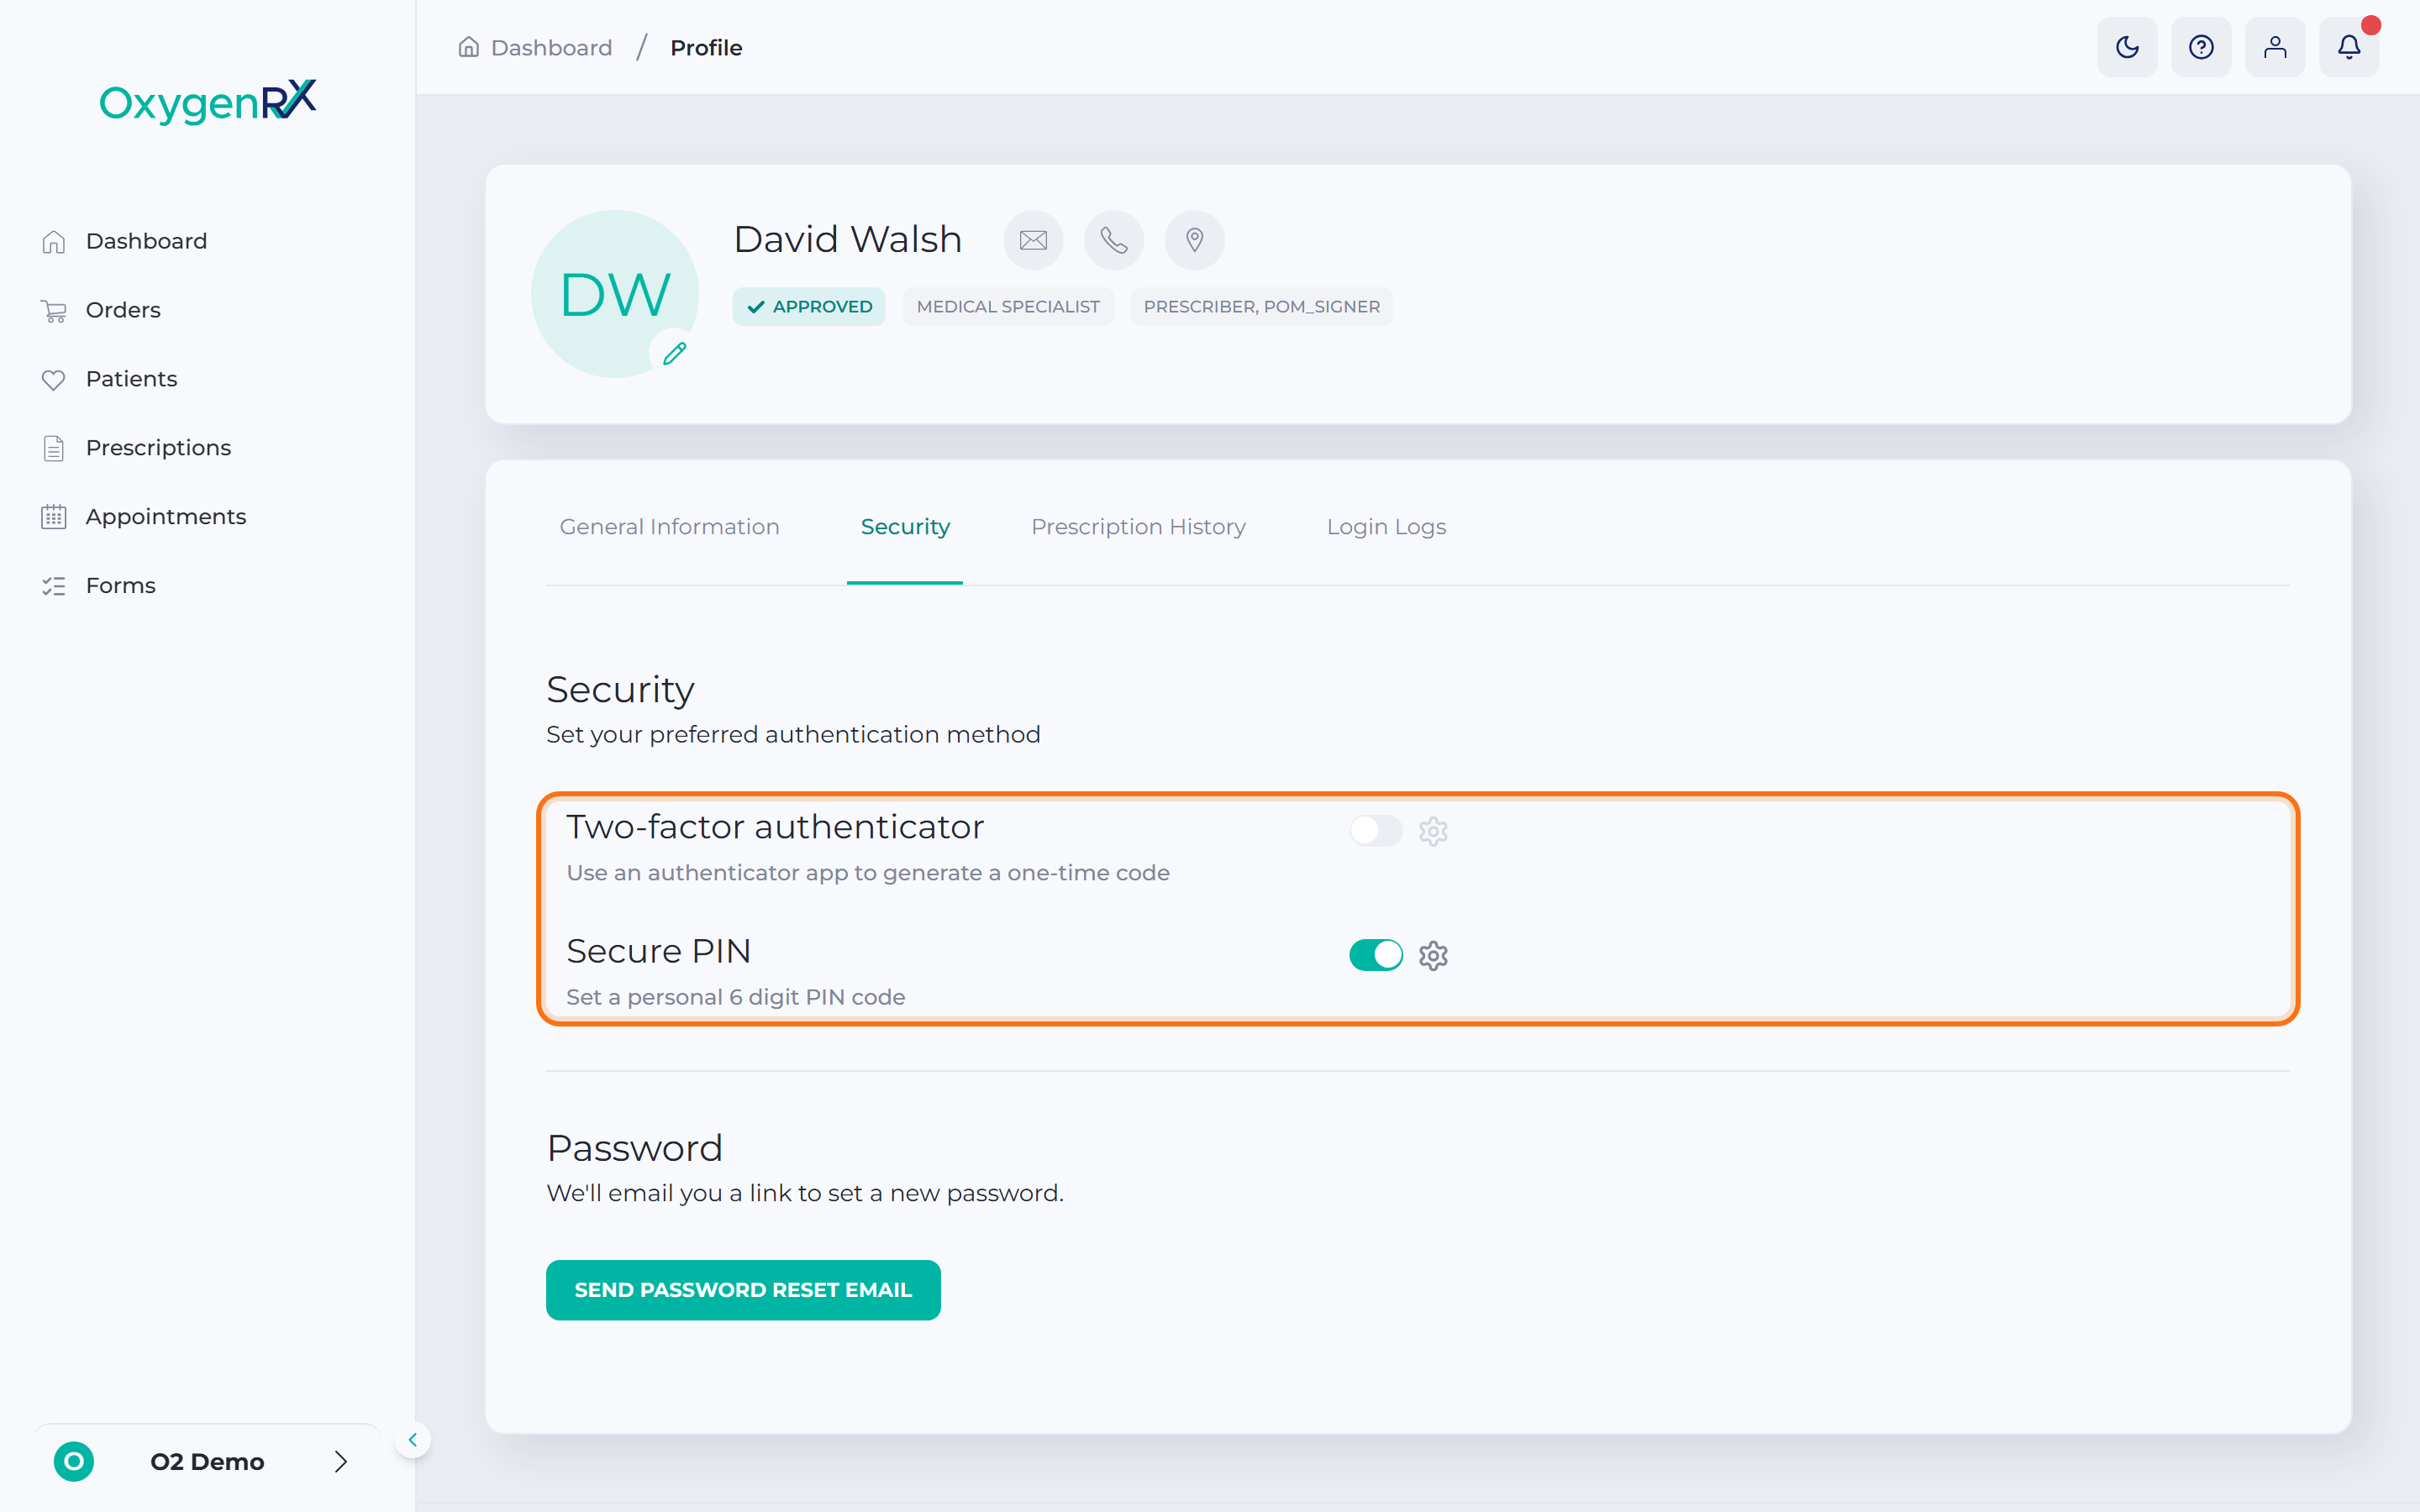
Turn on Two-factor authenticator
Section titled “Turn on Two-factor authenticator”- On the Security tab, turn on the Two-factor authenticator switch.
- In the Confirm Password window, enter your Current Password.
- Enter your Repeat Password.
- Click Continue.
- In the Scan QR Code window, open your authenticator app.
- Scan the code with your app. Can’t scan it? Copy the Secret Key below the code into your app instead.
the Scan QR Code window with the QR code and Secret Key visible
profile/security-02.png- Click Continue.
- In the Activation window, enter the 6-digit code your app shows.
- Click Confirm.
The Two-factor authenticator switch turns on. The red dot on the Security tab disappears.
Turn off Two-factor authenticator
Section titled “Turn off Two-factor authenticator”- On the Security tab, turn off the Two-factor authenticator switch.
- In the Disable 2FA window, enter the 6-digit code from your authenticator app.
- Click Confirm.
Reset Two-factor authenticator
Section titled “Reset Two-factor authenticator”- Click the gear icon next to Two-factor authenticator.
- Select Reset 2FA.
- In the Confirm Password window, enter your Current Password.
- Enter your Repeat Password.
- Click Continue.
- Click Done.
A message tells you: “Your new PIN has been sent to your email.”
Secure PIN
Section titled “Secure PIN”A Secure PIN is a 6-digit code you set to confirm sensitive actions. Read more in the glossary.
Set up your Secure PIN
Section titled “Set up your Secure PIN”- On the Security tab, turn on the Secure PIN switch.
- In the Set PIN window, enter your Current Password.
- Enter your Repeat Password.
- Enter a 6-digit PIN in the Enter PIN boxes.
- Click Confirm.
View your PIN
Section titled “View your PIN”- Click the gear icon next to Secure PIN.
- Select View PIN.
- In the Confirm Password window, enter your Current Password.
- Enter your Repeat Password.
- Click Continue.
- Click Copy PIN to copy it, or Done to close the window.
Your PIN shows in the View Pin window.
Change your PIN
Section titled “Change your PIN”- Click the gear icon next to Secure PIN.
- Select Change PIN.
- In the Change PIN window, enter your current PIN.
- Enter your new PIN.
- Click Confirm.
Reset your PIN
Section titled “Reset your PIN”- Click the gear icon next to Secure PIN.
- Select Reset PIN.
- In the Confirm Password window, enter your Current Password.
- Enter your Repeat Password.
- Click Continue.
- Click Done.
A message tells you: “Your new PIN has been sent to your email.”
Turn off Secure PIN
Section titled “Turn off Secure PIN”- On the Security tab, turn off the Secure PIN switch.
- In the Disable PIN window, enter your 6-digit PIN.
- Click Confirm.
Change your password
Section titled “Change your password”- On the Security tab, scroll to the Password section.
- Click Send password reset email.
- Check your inbox for the reset link.
- Open the link.
- Set a new password.
What happens next
Section titled “What happens next”Turning on either Two-factor authenticator or Secure PIN clears the red dot on the Security tab. Only one method is active at a time.
After you click Send password reset email, you’ll see: “Password reset email sent. Check your inbox to set a new password.”
If something goes wrong
Section titled “If something goes wrong”- “Passwords do not match” — your Current Password and Repeat Password boxes don’t match. Retype them carefully.
- “Password is required” or “Repeat Password is required” — you left a password box empty. Fill in both boxes.
- “The PIN must be exactly six characters in length.” — enter exactly 6 digits.
- “No email on file. Sign out and back in to retry.” — you have no email on record. Sign out, sign back in, then try again.
- “Failed to send reset email.” — the reset email didn’t go out. Wait a moment and click Send password reset email again.
- Gear icon won’t click — turn that method’s switch on first. The gear only works once its switch is on.